¶ Step 3: Create and Send Your First Campaign
Welcome to the final stretch! In this concluding "Quick Start" article, we will help you create, configure, and successfully send your first email campaign in EmailMassivo. We'll also share a number of useful tips to ensure this first experience goes as smoothly and successfully as possible – for you and your business.
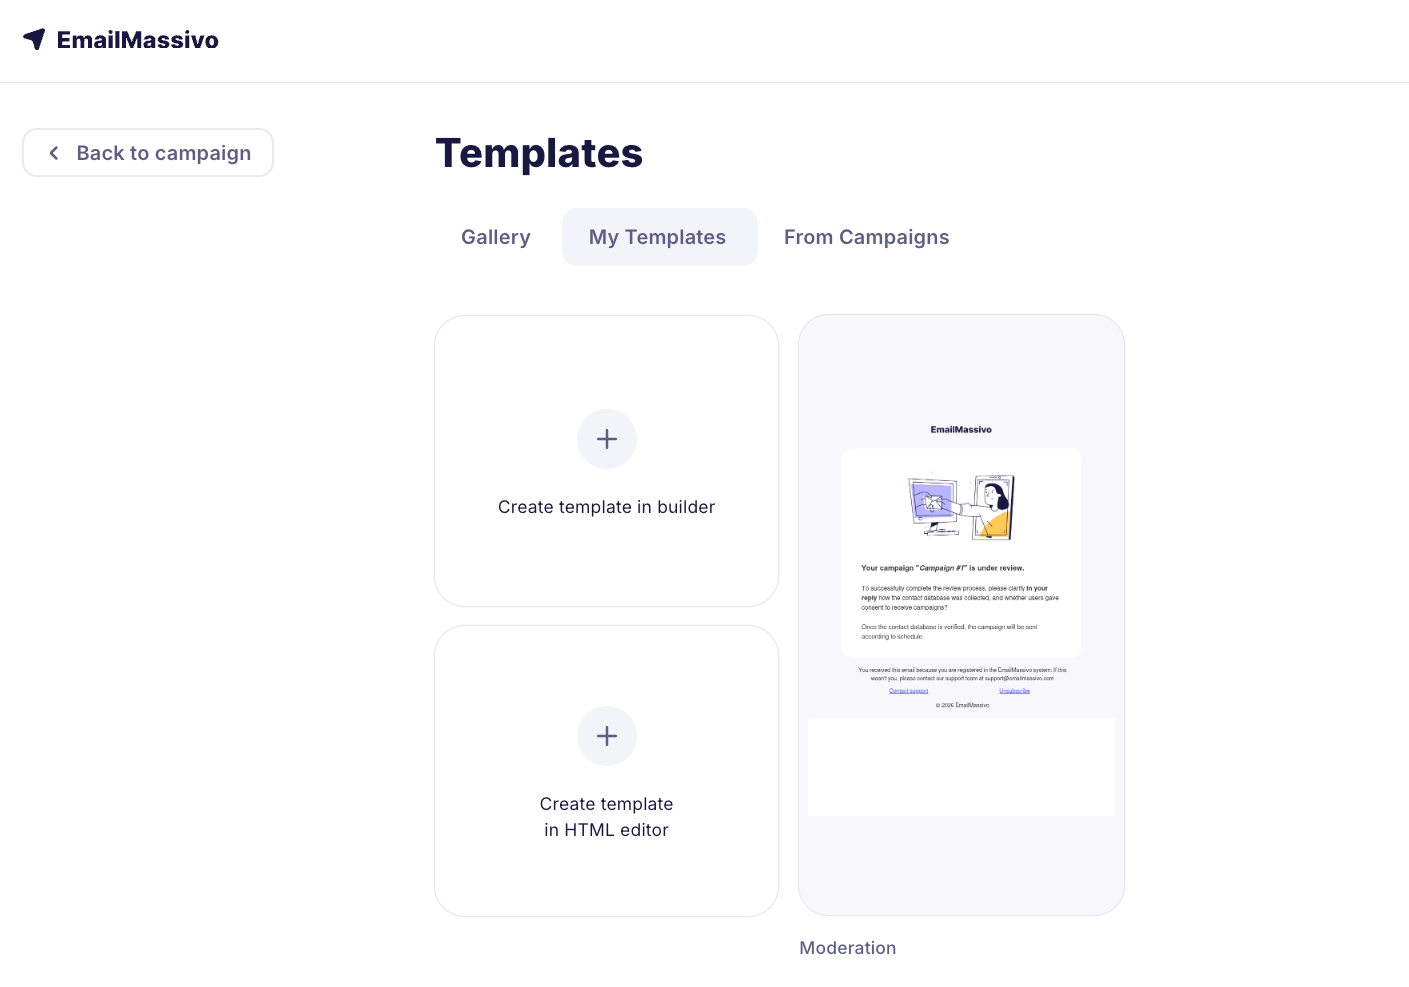
¶ 1. Create an Email Template
In the EmailMassivo service, you can create your own email campaign template in any convenient way:
- choose a ready-made template from the gallery;
- create a new template using the block constructor;
- add your own template in the HTML editor.
Although the final choice is up to you, if this is your first experience using the EmailMassivo service, we recommend choosing one of the ready-made templates in our gallery. In this case, you'll just need to add your logo, images, write text, and add links to buttons – and you'll have an email ready to send.
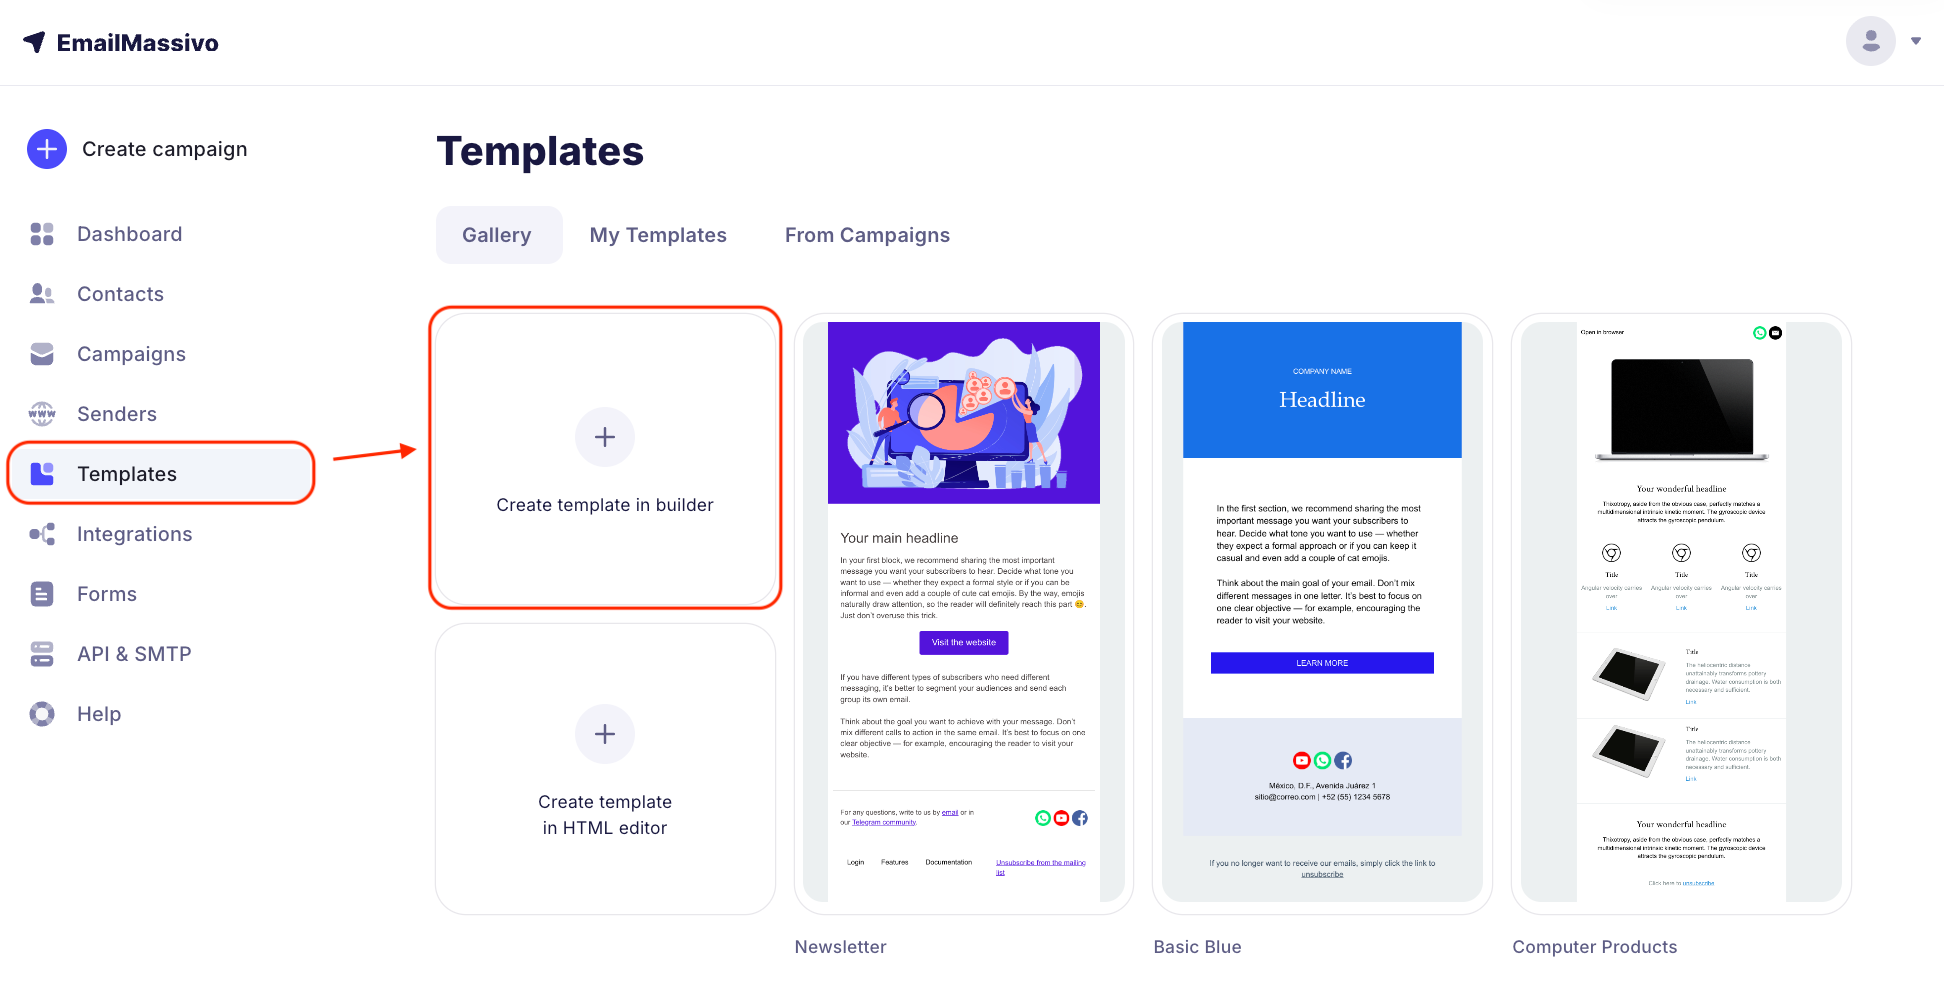
To create an email template, please go to the "Templates" section and choose one of the three suggested ways to create a template for your future email:
Detailed step-by-step instructions for creating email templates can be found in the guide in the Knowledge Base.
¶ 2. Create a Campaign
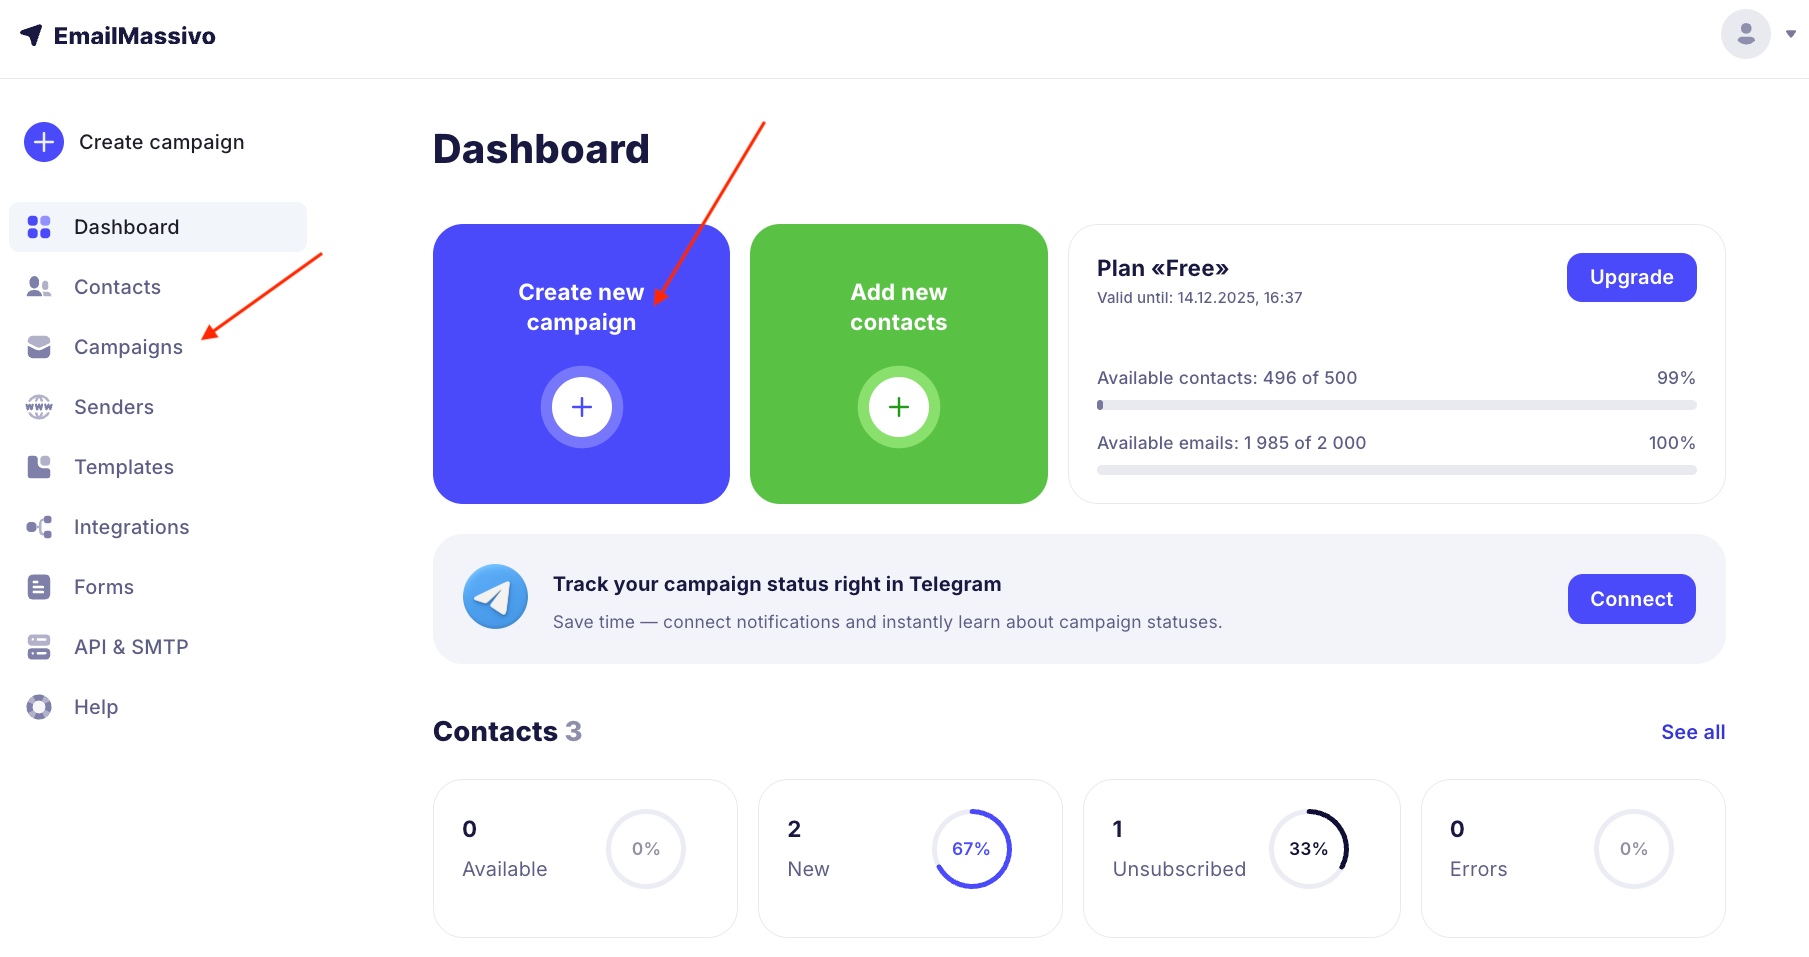
After creating the email template, you can finally proceed to creating and sending your first campaign. To do this, click the "Create New Campaign" button in the main menu or go to the "Campaigns" tab and click "Create Campaign":
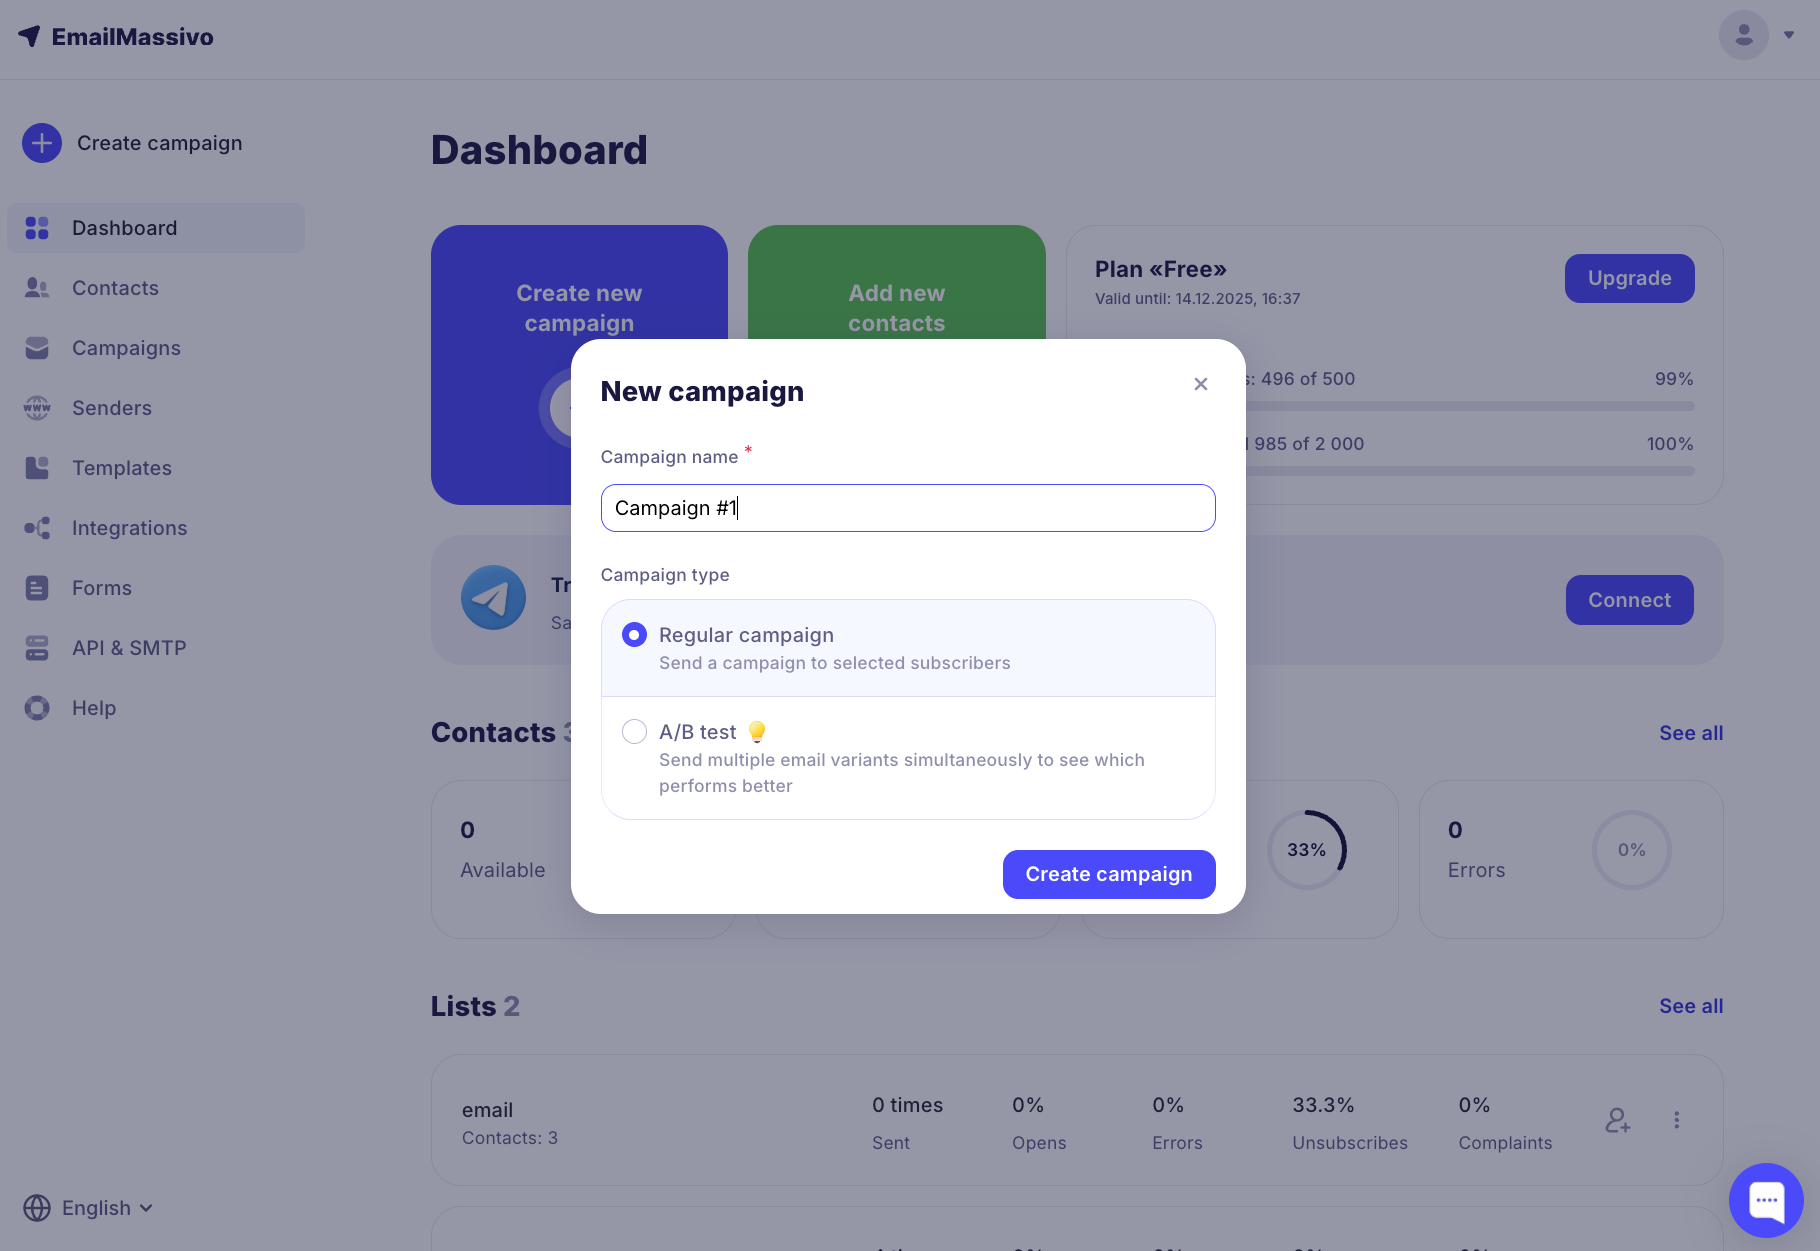
Enter the campaign name, select the "Regular Campaign" type and click "Create Campaign".
¶ 2.1 Domain "Warm-up"
If you've created email on a domain for the first time, then before doing mass campaigns from it, you need to gain trust and a good reputation from email systems.
This is not difficult to do, but the process takes some time and is definitely worth the effort. If this stage is relevant for you, we recommend familiarizing yourself with the domain "warm-up".
¶ 2.2 Specify the Sender
Enter the email and name of the sender. You need to add a sender on your own domain so that the campaign doesn't end up in "Spam".
You can find detailed instructions on how to add a new sender on your domain in our Knowledge Base.
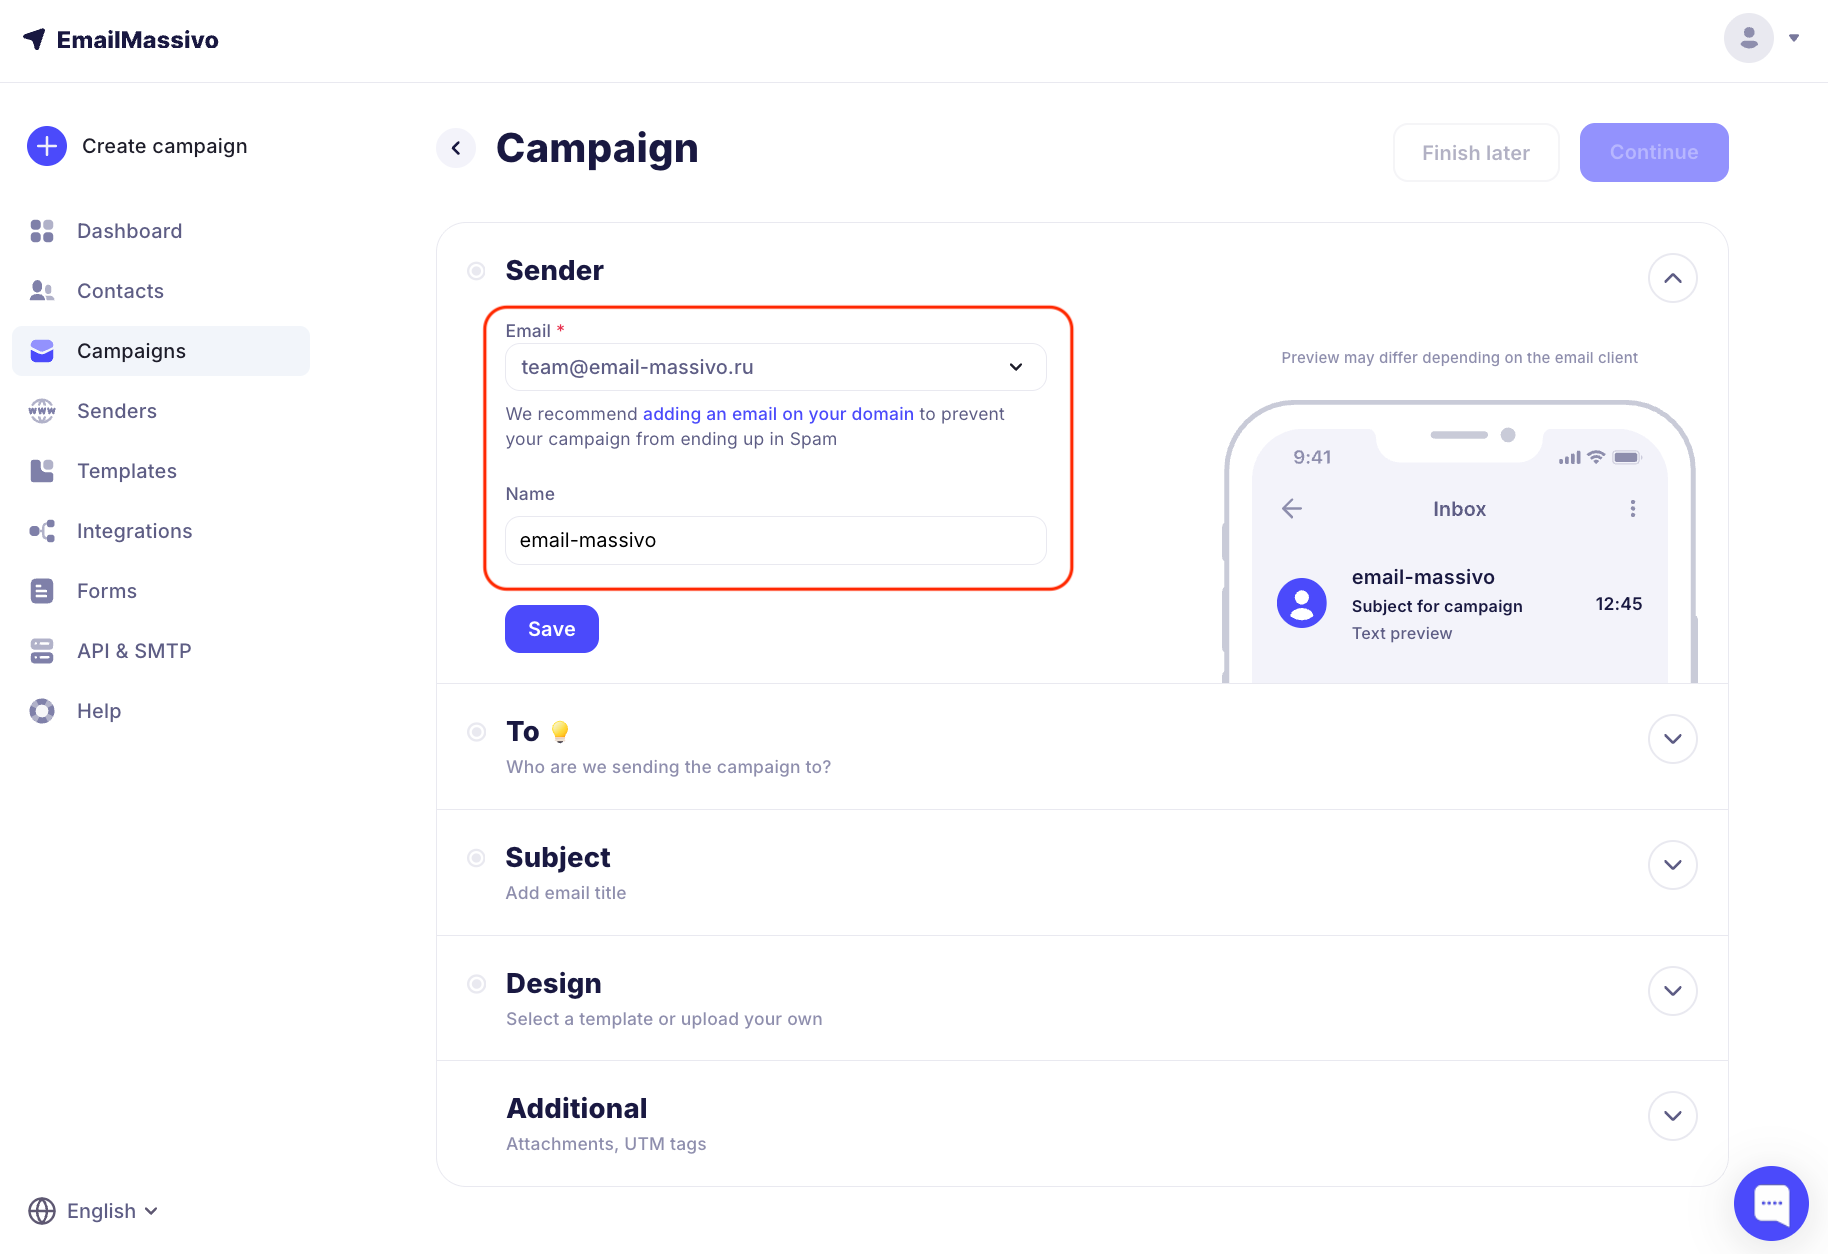
After this, click "Save".
Users will receive the campaign showing which email they received the message from, as well as the name (from whom they received the message).
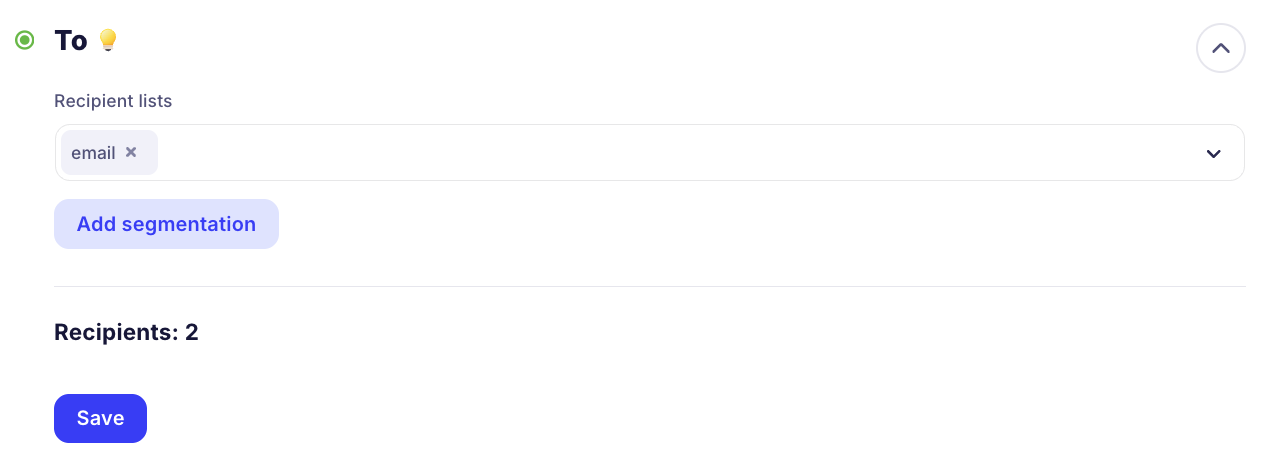
¶ 2.3 Specify Recipients
Select one or more recipient lists for the campaign. In recipient lists, recipients with "New" and "Active" status are counted. Read more about campaign statuses in the article. If there are recipients with other statuses in the list ("Error", "Unsubscribed", "Mailbox Full"), such contacts will not be counted in the number of recipients and the campaign will not be sent to them.
After selecting the lists to whom you want to send the campaign, you will see the total number of recipients in these lists. Then click "Save".
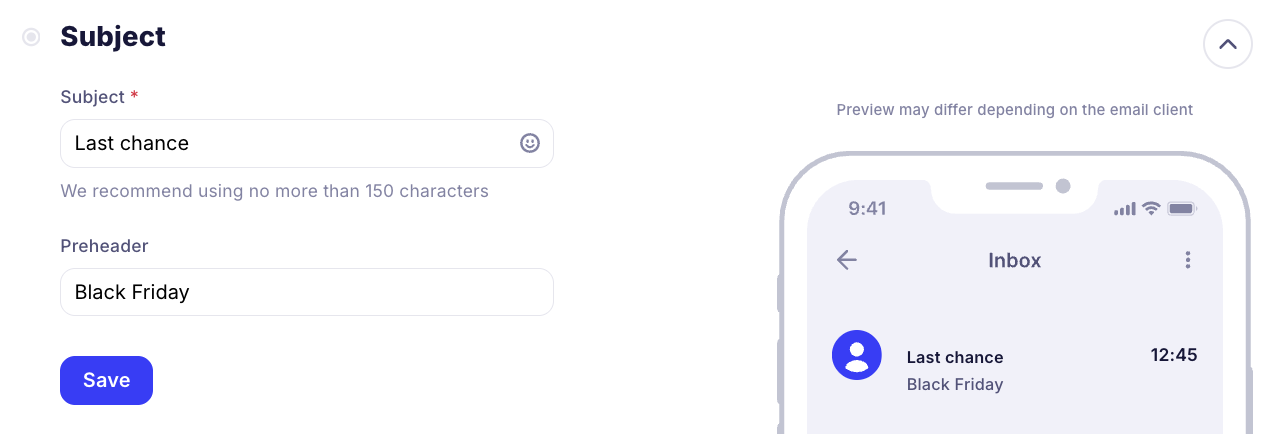
¶ 2.4 Specify Subject and Preheader
The email subject is the part of the message that the subscriber sees when they go to the "Inbox" folder. Subscribers judge whether to open the email based on the subject, so it should be catchy, informative, and brief.
The preheader (preview text) or subtitle is a text fragment that appears in the email client next to the email subject. It provides additional information about the email content and helps the recipient decide whether to open it.
¶ 2.5 Add Email Content
Since you've already created an email template for your future campaign, in this step you just need to select it in the "My Templates" section and proceed to the next stage.
Nevertheless, if you've changed your mind about using the pre-created template, you can always choose or create a new one in any convenient way.
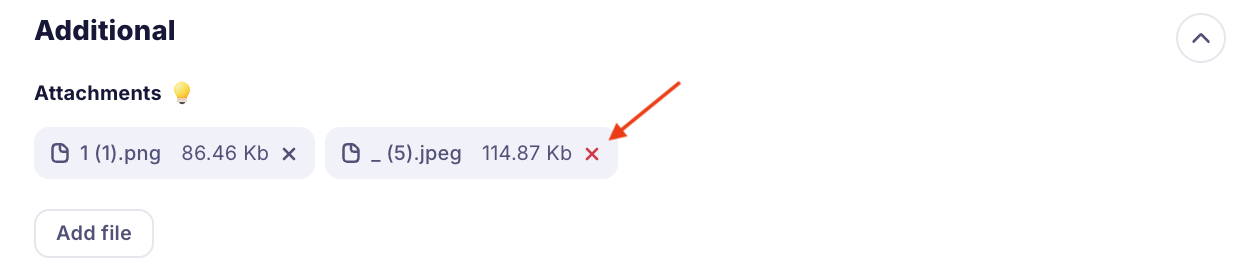
¶ 2.6 Add Attachments
When creating a campaign, you can attach one or more files to it.

Click "Add File" and upload the file. You can select one file at a time.
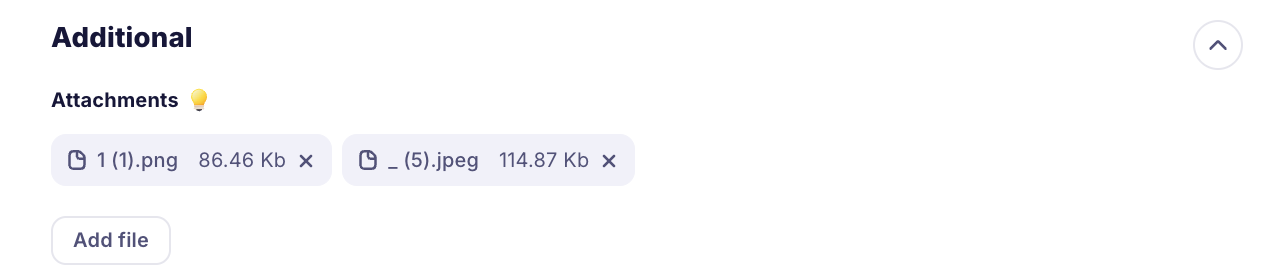
You can delete a file by clicking the cross:
Limitations on attachable files and size:
- Limitation on total attachment size in email: 5 MB
- Limitation on number of attachments in email: 20 pieces
- Limitation on attachments in email (file type):
ADE, ADP, APK, APPX, APPXBUNDLE, BAT, CAB, CHM, CMD, COM, CPL, DIAGCAB, DIAGCFG, DIAGPACK, DLL, DMG, EX, EX_, EXE, HTA, IMG, INS, ISO, ISP, JAR, JNLP, JS, JSE, LIB, LNK, MDE, MSC, MSI, MSIX, MSIXBUNDLE, MSP, MST, NSH, PIF, PS1, SCR, SCT, SHB, SYS, VB, VBE, VBS, VHD, VXD, WSC, WSF, WSH, XLL.
¶ 2.7 Add UTM Tags
UTM tags are parameters that are added to URLs to get detailed information about traffic. They are easy to see in the browser address bar after clicking. For example, with UTM you can find out that a person came to the page from an email campaign, viewed three more pages, and then bought a product.
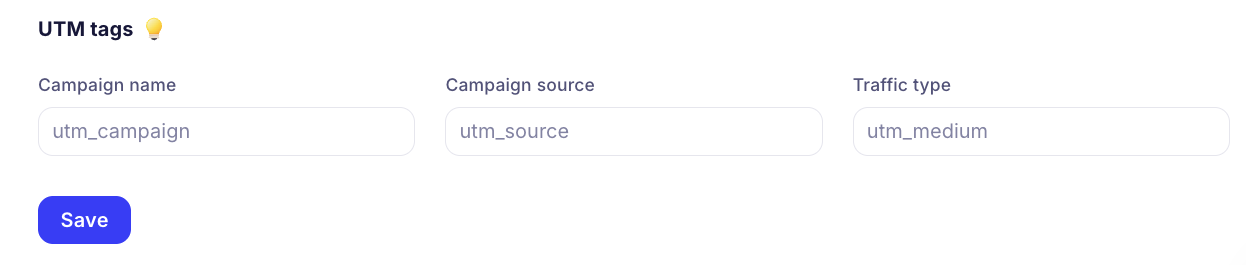
Example UTM tag settings:
- Campaign name: promo
- Source: google_campaign
- Traffic type: email
If you specify such settings, parameters will be added to all links in the email:
?utm_source=google_campaign&utm_medium=email&utm_campaign=promo
These tags can be used to track clicks in statistics and on the website in analytics systems.
You can also add UTM when creating a template. Manually add different UTM tags to each link.
¶ 3. Check All Data and Send the Campaign
Click "Next" and carefully check all the data – is everything correct?
Already at the stage of creating the main campaign, you can plan in advance to resend emails to those who didn't open the first email. This will help increase the effectiveness of your campaign.
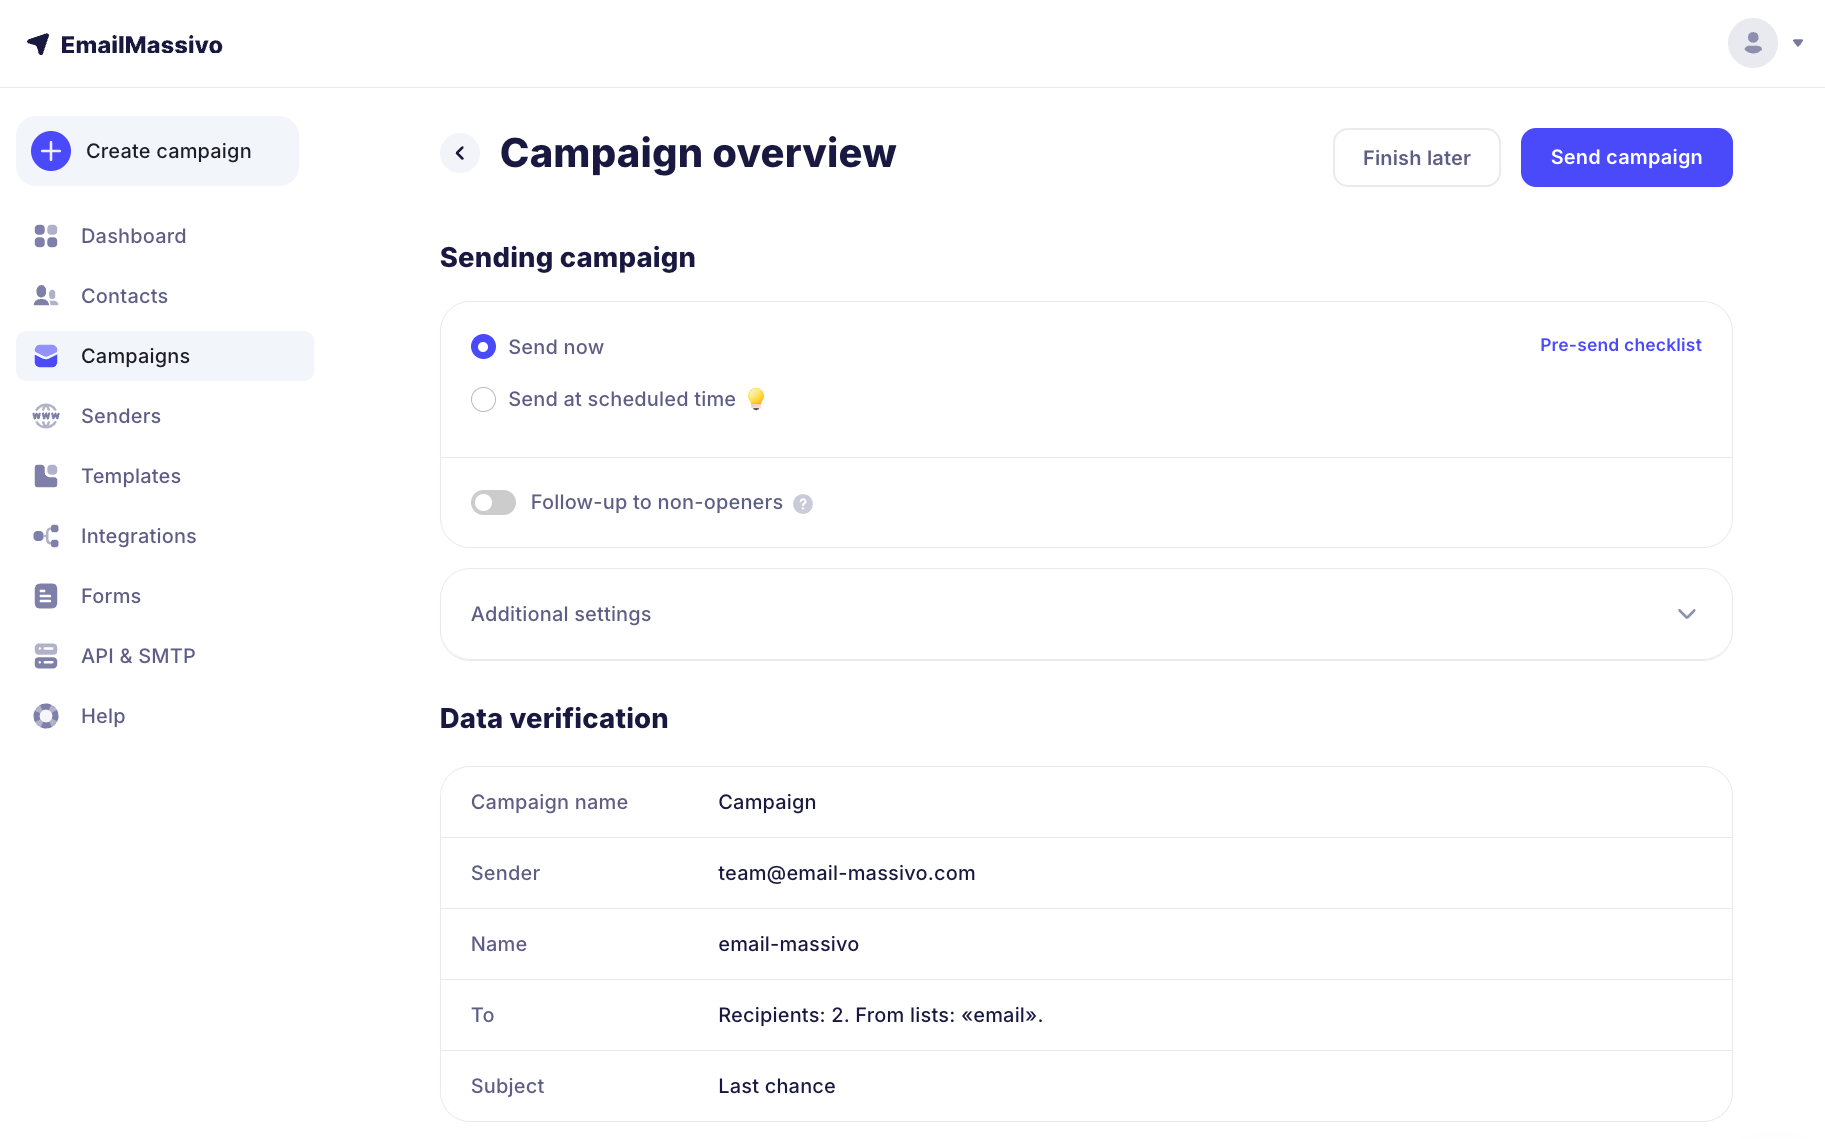
If everything is correct, click the "Send Campaign" button.
After this action, your campaign will first go to moderation before reaching the final recipients.
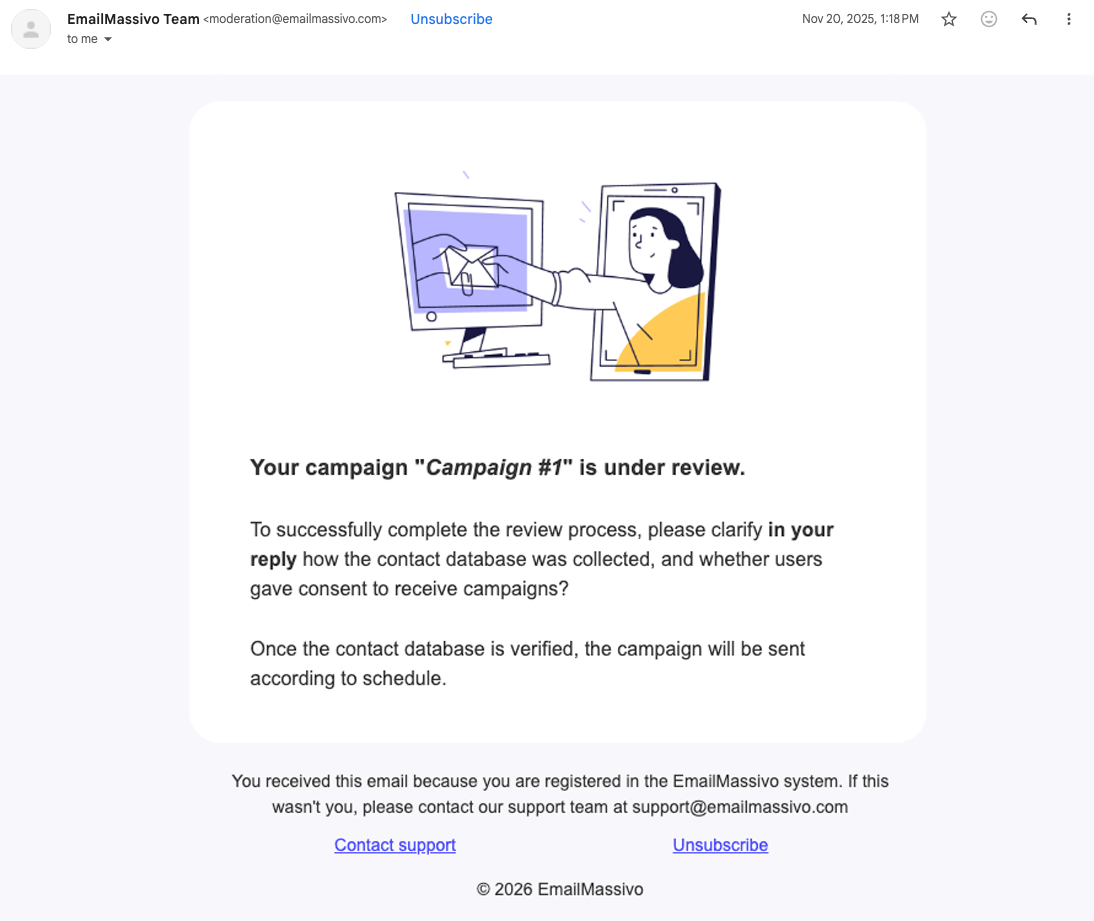
¶ 4. Go Through the Moderation Process
Moderation is a check of the client's database, sender's email, and email content against a number of criteria. Before sending to a new database, the campaign undergoes mandatory moderation. The verification stages are interconnected, some of them are not only a requirement of our service, but also rules for all email services.
Conditions for moderation:
- If the campaign recipient database is permanent and has been verified previously in our service, the campaign will be sent automatically without moderation.
- If the recipient database is new and has not been verified in our service before, you will receive an email from EmailMassivo support asking you to clarify the source of the database. You will need to reply to this email, indicating where the contact database was collected from. The support team will review your response, and if everything is in order, the campaign will be sent according to schedule.
The moderation process won't take much time, and you will be automatically notified of the results when it's completed. Thank you for your patience!
For more details about the moderation process and tips on how to simplify this process, you can find in the guide.
This concludes the "Quick Start" guide. On behalf of the entire EmailMassivo team, we thank you for your attention to our service and wish you a pleasant user experience.
Note:
If you didn't find answers to all your questions in this article, or if you need help, please use our Knowledge Base or contact the EmailMassivo user support team directly.