¶ How to Create a Scheduled Campaign
Note that at this time it is not possible to create and launch a scheduled A/B test.
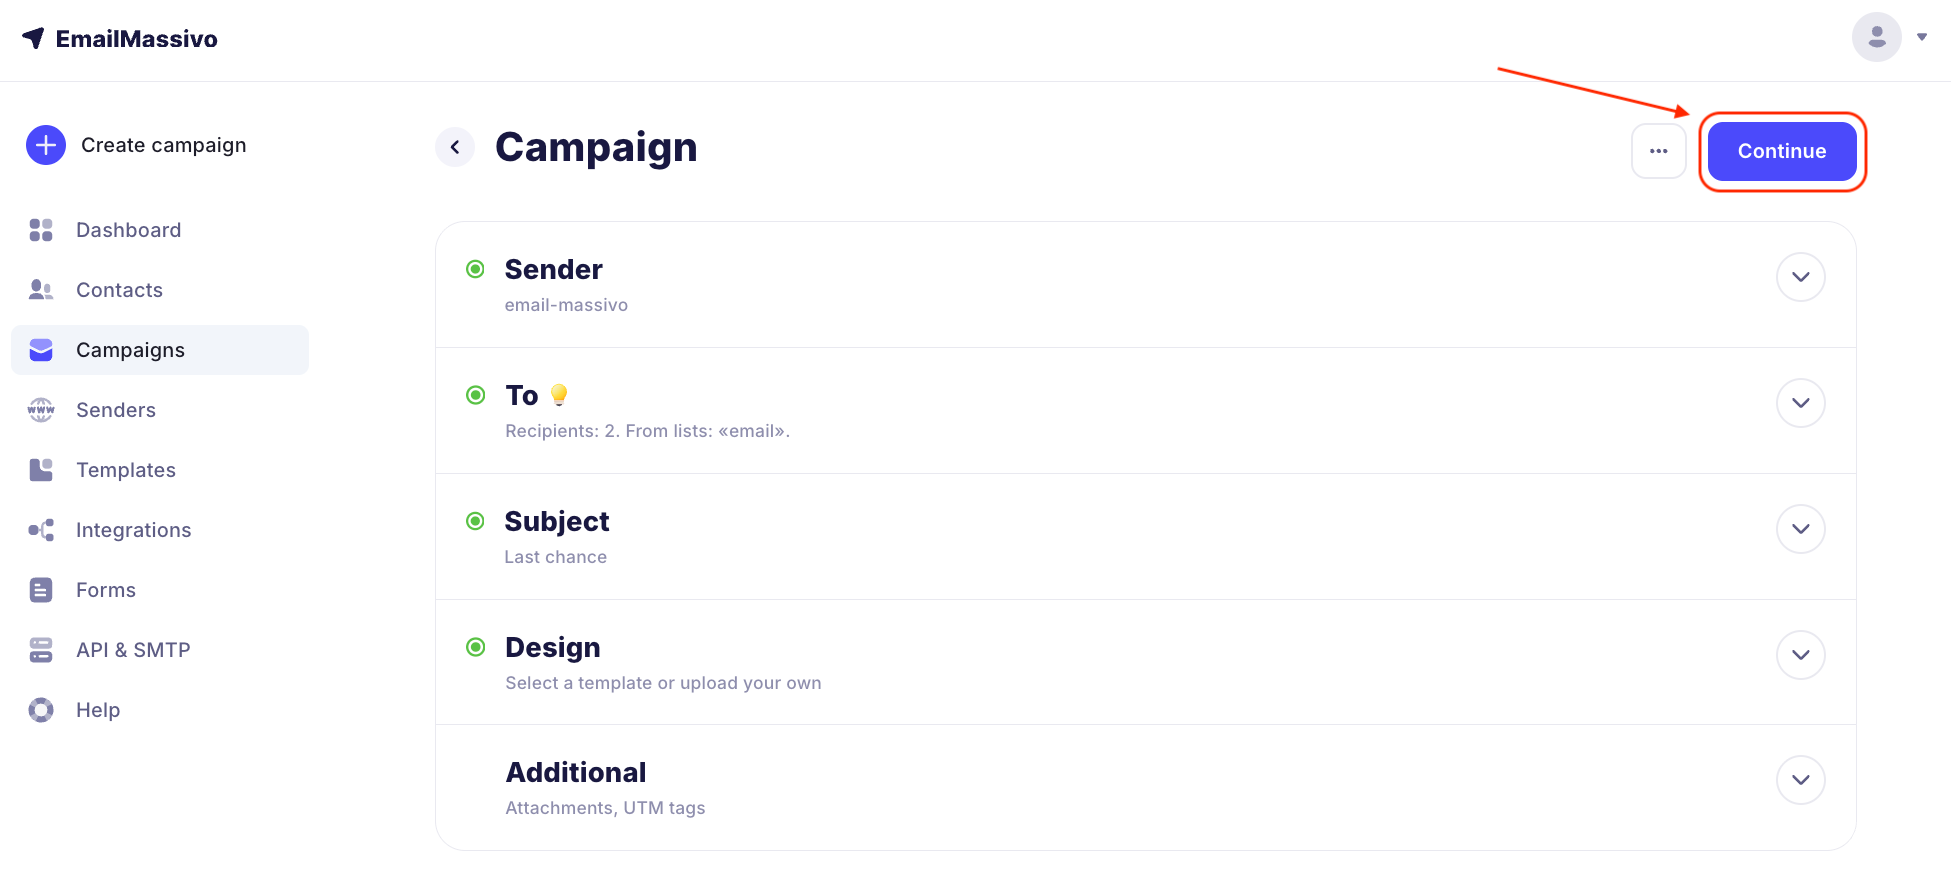
Fill in the campaign information. After all items are filled, click "Continue".
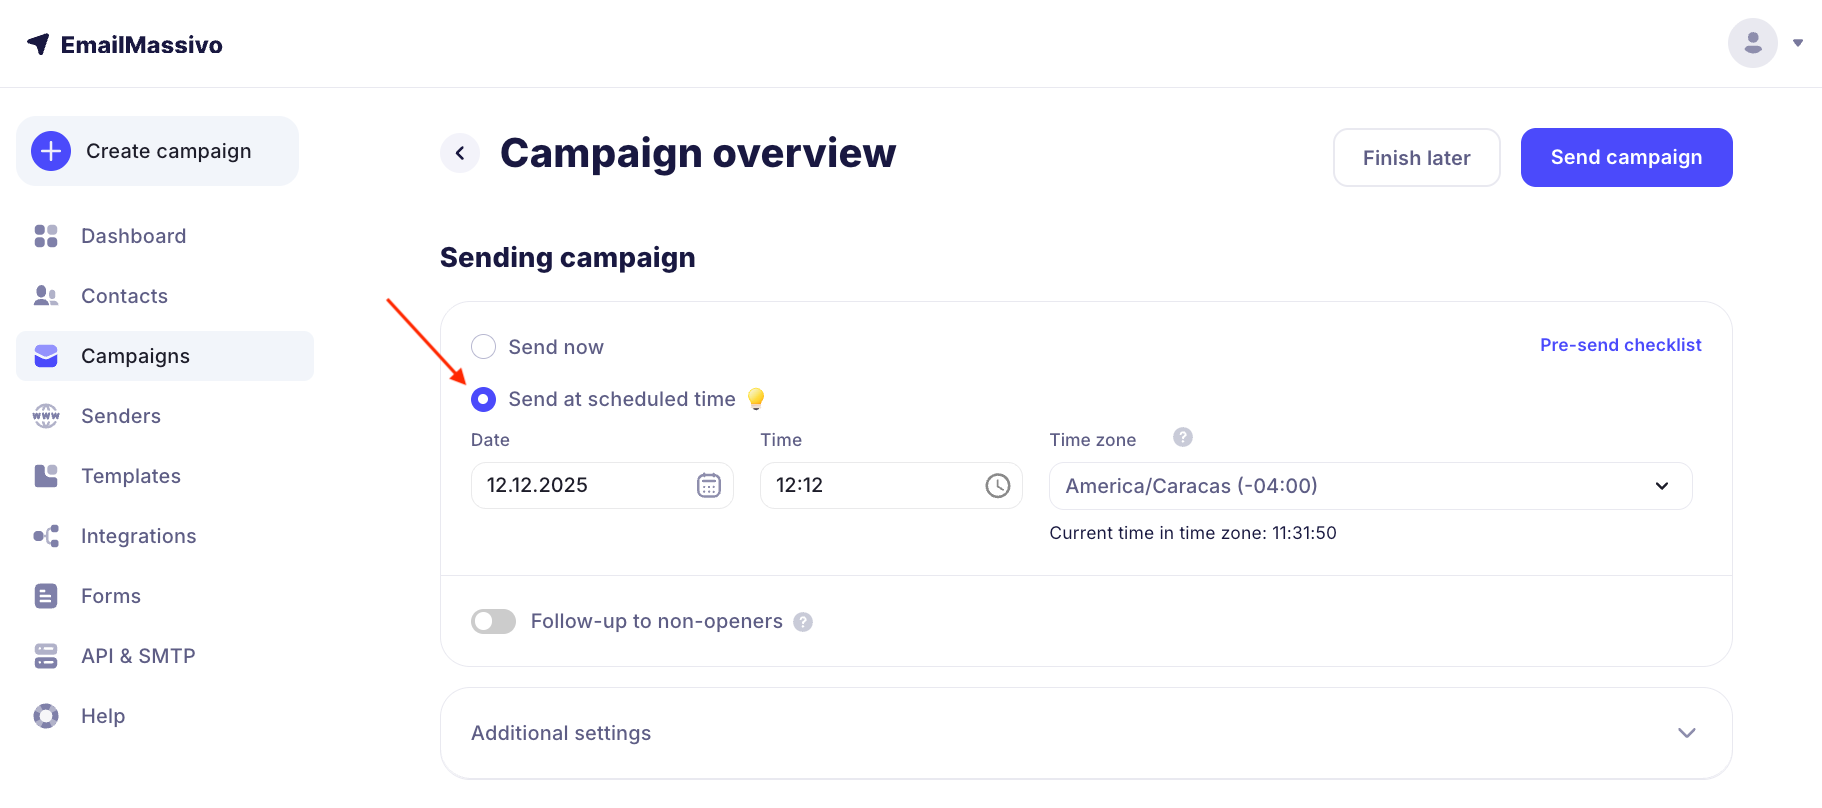
At the "Campaign Overview" stage, select "Send at scheduled time". Set the time, date, timezone, and click the "Send Campaign" button.
Already at the stage of creating the main campaign, you can plan in advance a resend of emails to those who did not open the first email. This will help increase your campaign's effectiveness. Read how to set up resend in this guide.
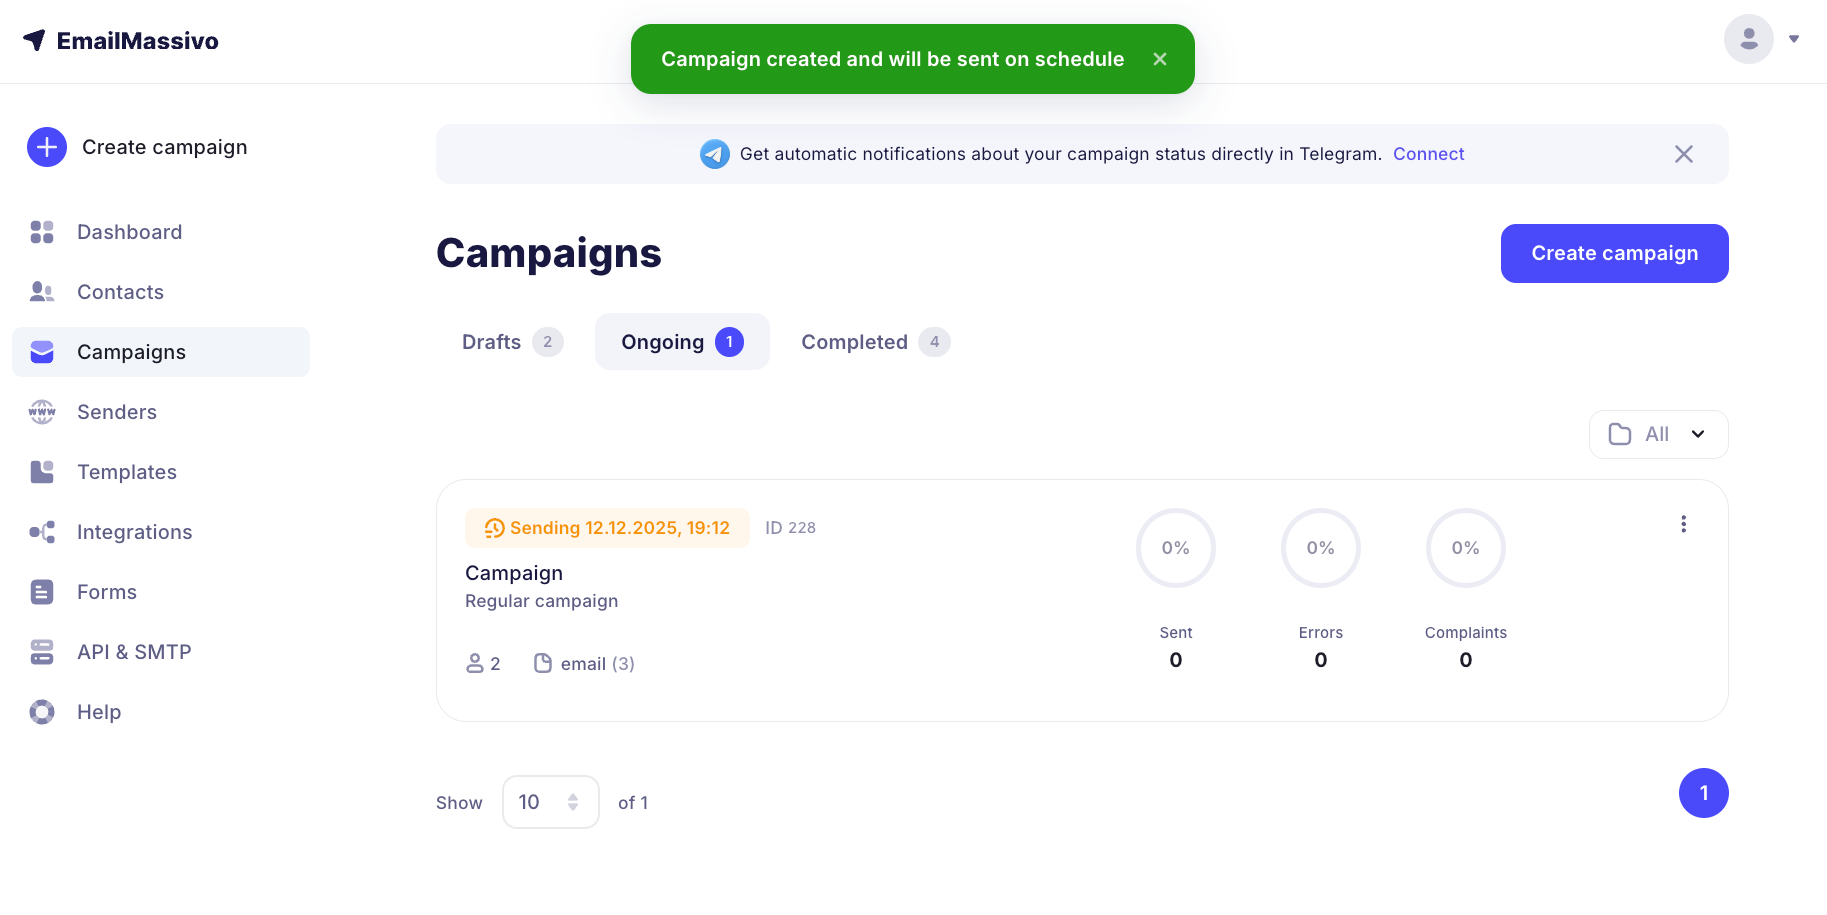
Done! The campaign has been created and will be sent at the time and date you specified:
You can only schedule a campaign for a future time, so the system will not allow scheduling a campaign for a time that has already passed — the "Send Campaign" button will be inactive, or time values for past hours will be unavailable for selection.
Now your campaign will be queued for sending. Before sending, it will go for moderation and will be sent at the scheduled time if it successfully passes verification. After sending, the campaign will move to "Completed".
A scheduled campaign cannot be modified, but you can adjust the send time or cancel sending. If you want to make changes, first cancel the campaign sending in the "Campaigns" → "In Progress" section.
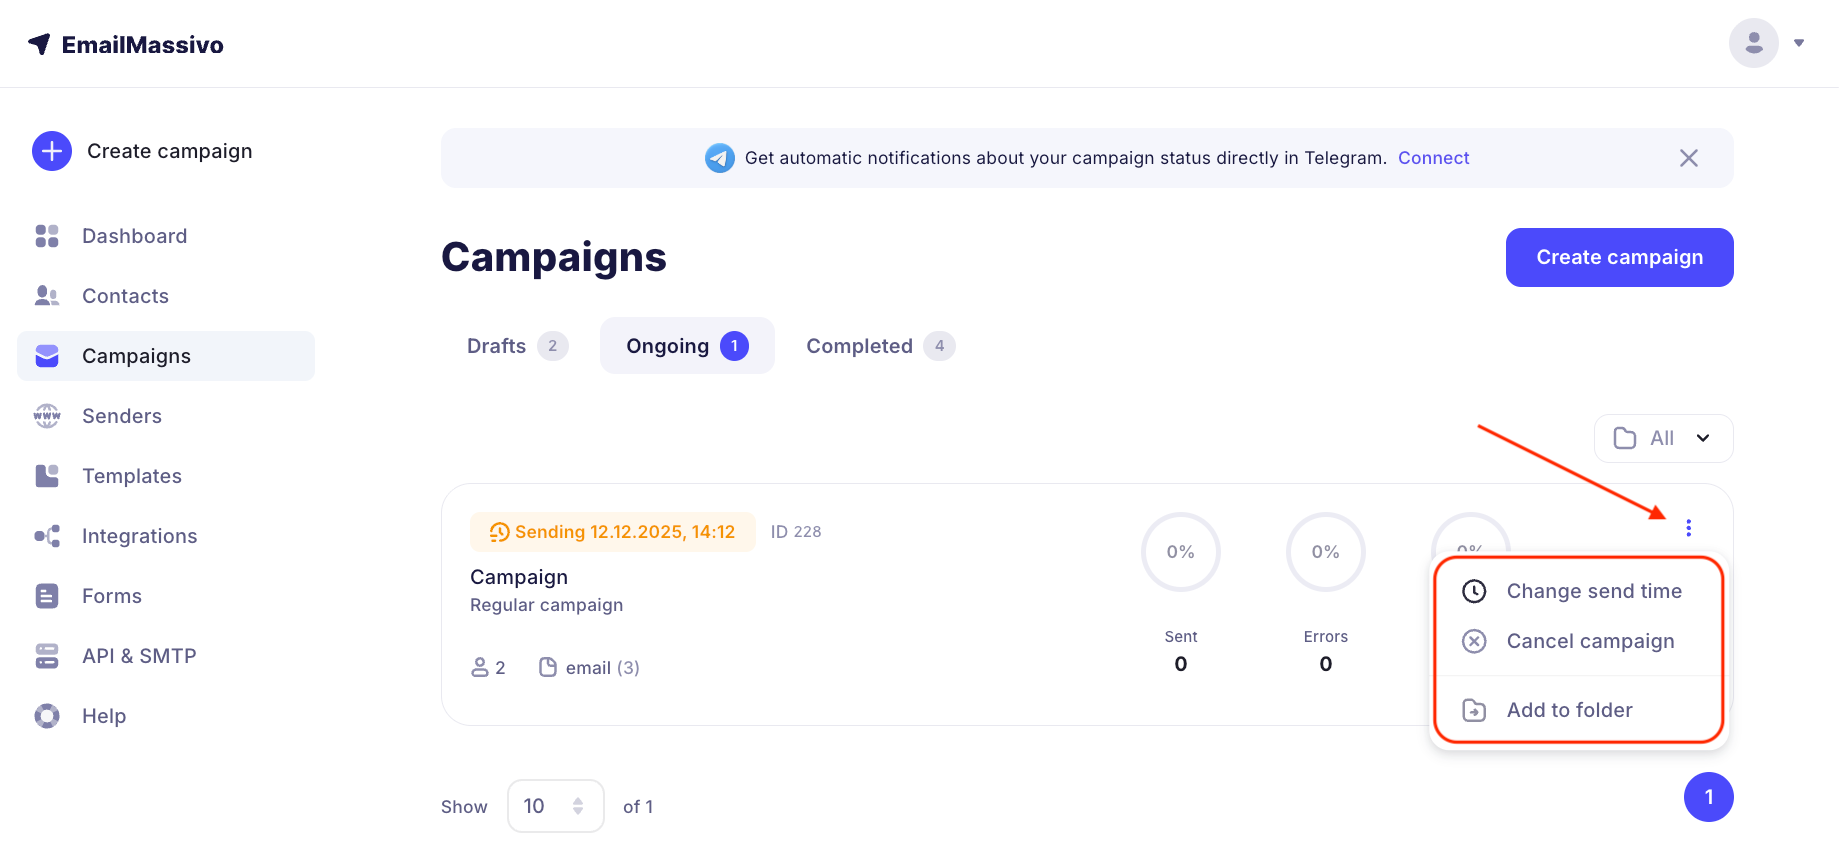
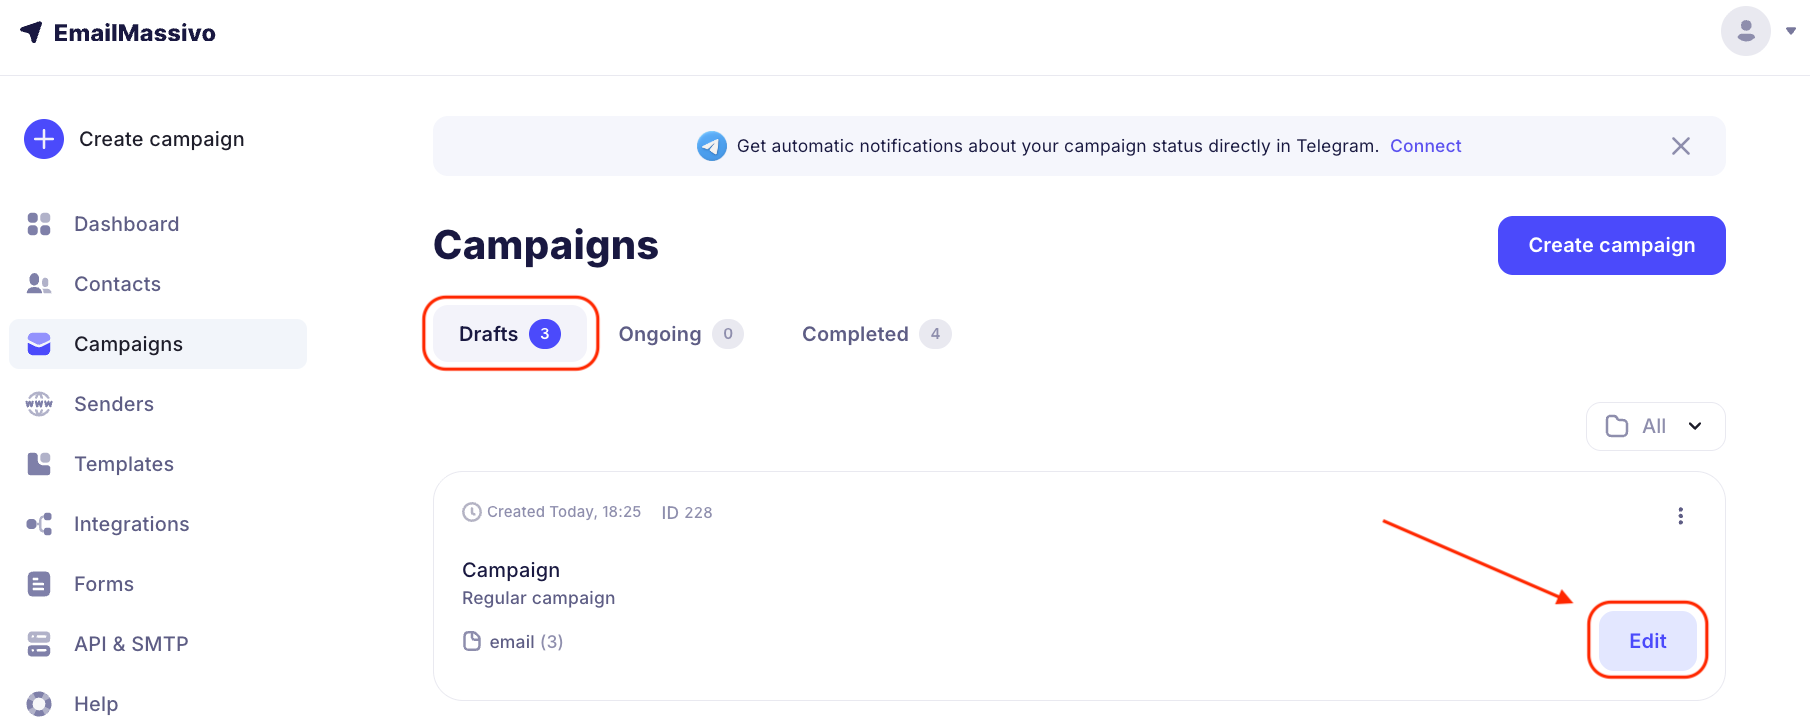
Then go to "Drafts", make the necessary changes, and schedule the campaign again.