¶ How to Create Your First Campaign in EmailMassivo
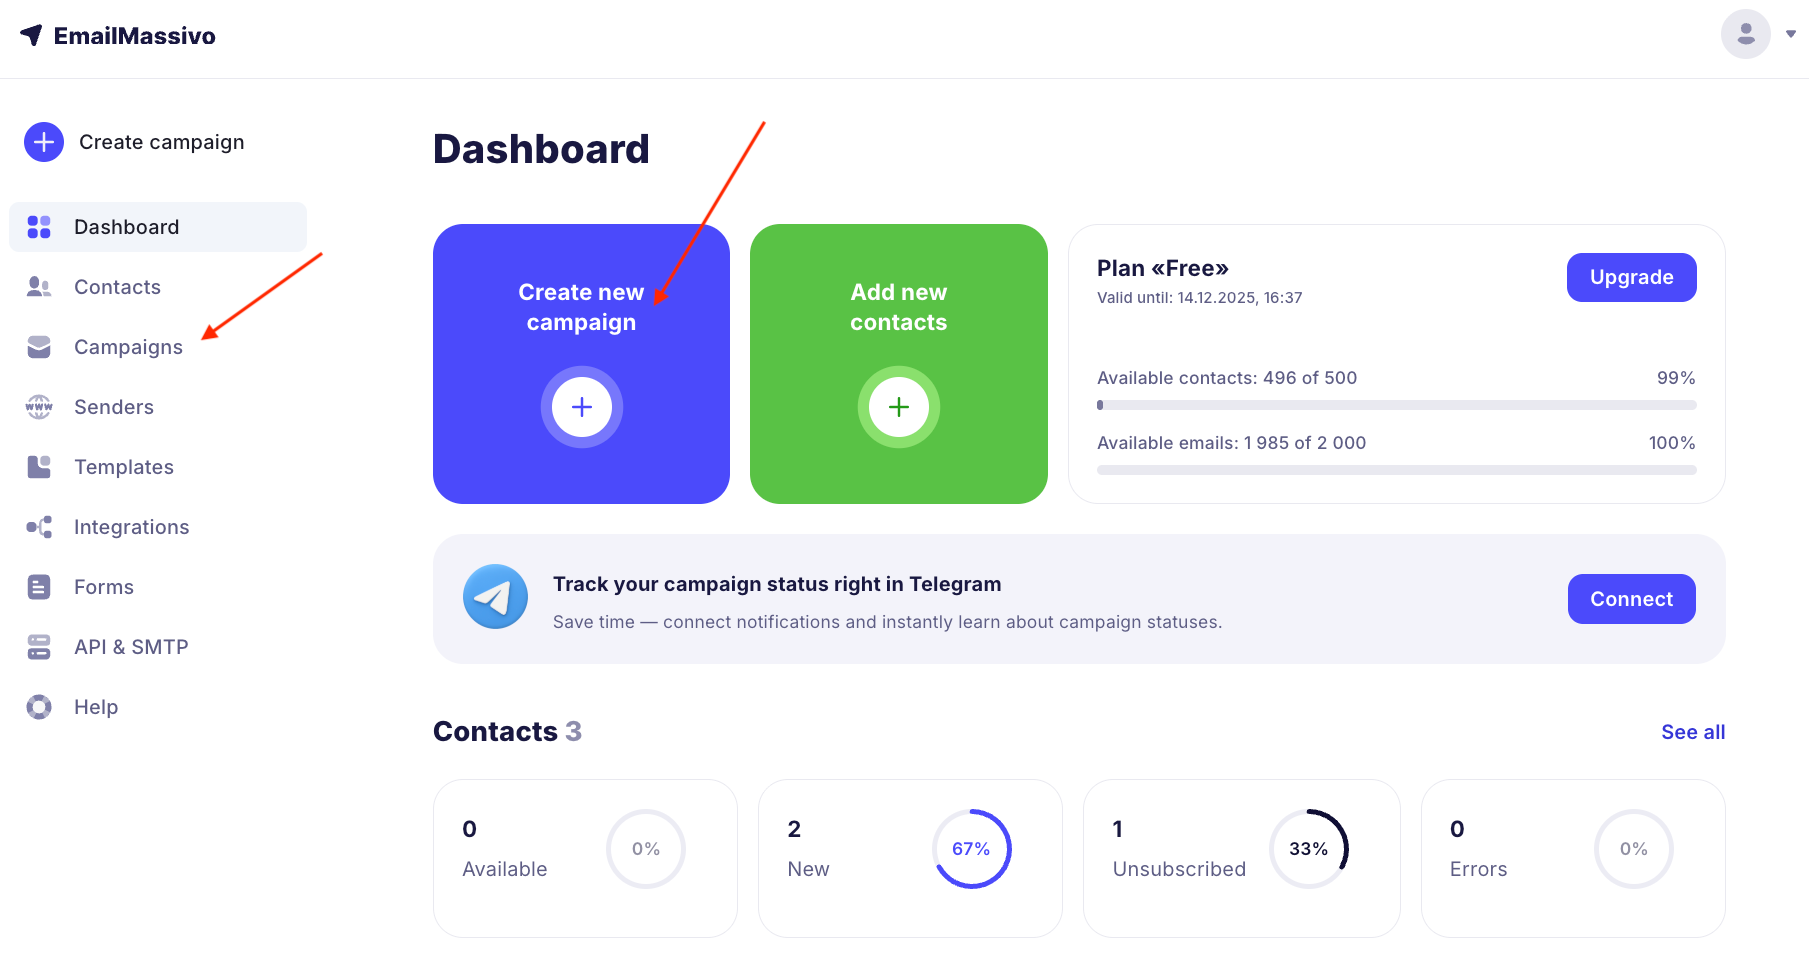
Enter the campaign name, select type "Regular Campaign" and click "Create Campaign".

¶ Step 1. Add Campaign Information
¶ Specify Sender
Enter the sender email and name. You need to add a sender on your own domain so the campaign doesn't end up in "Spam".
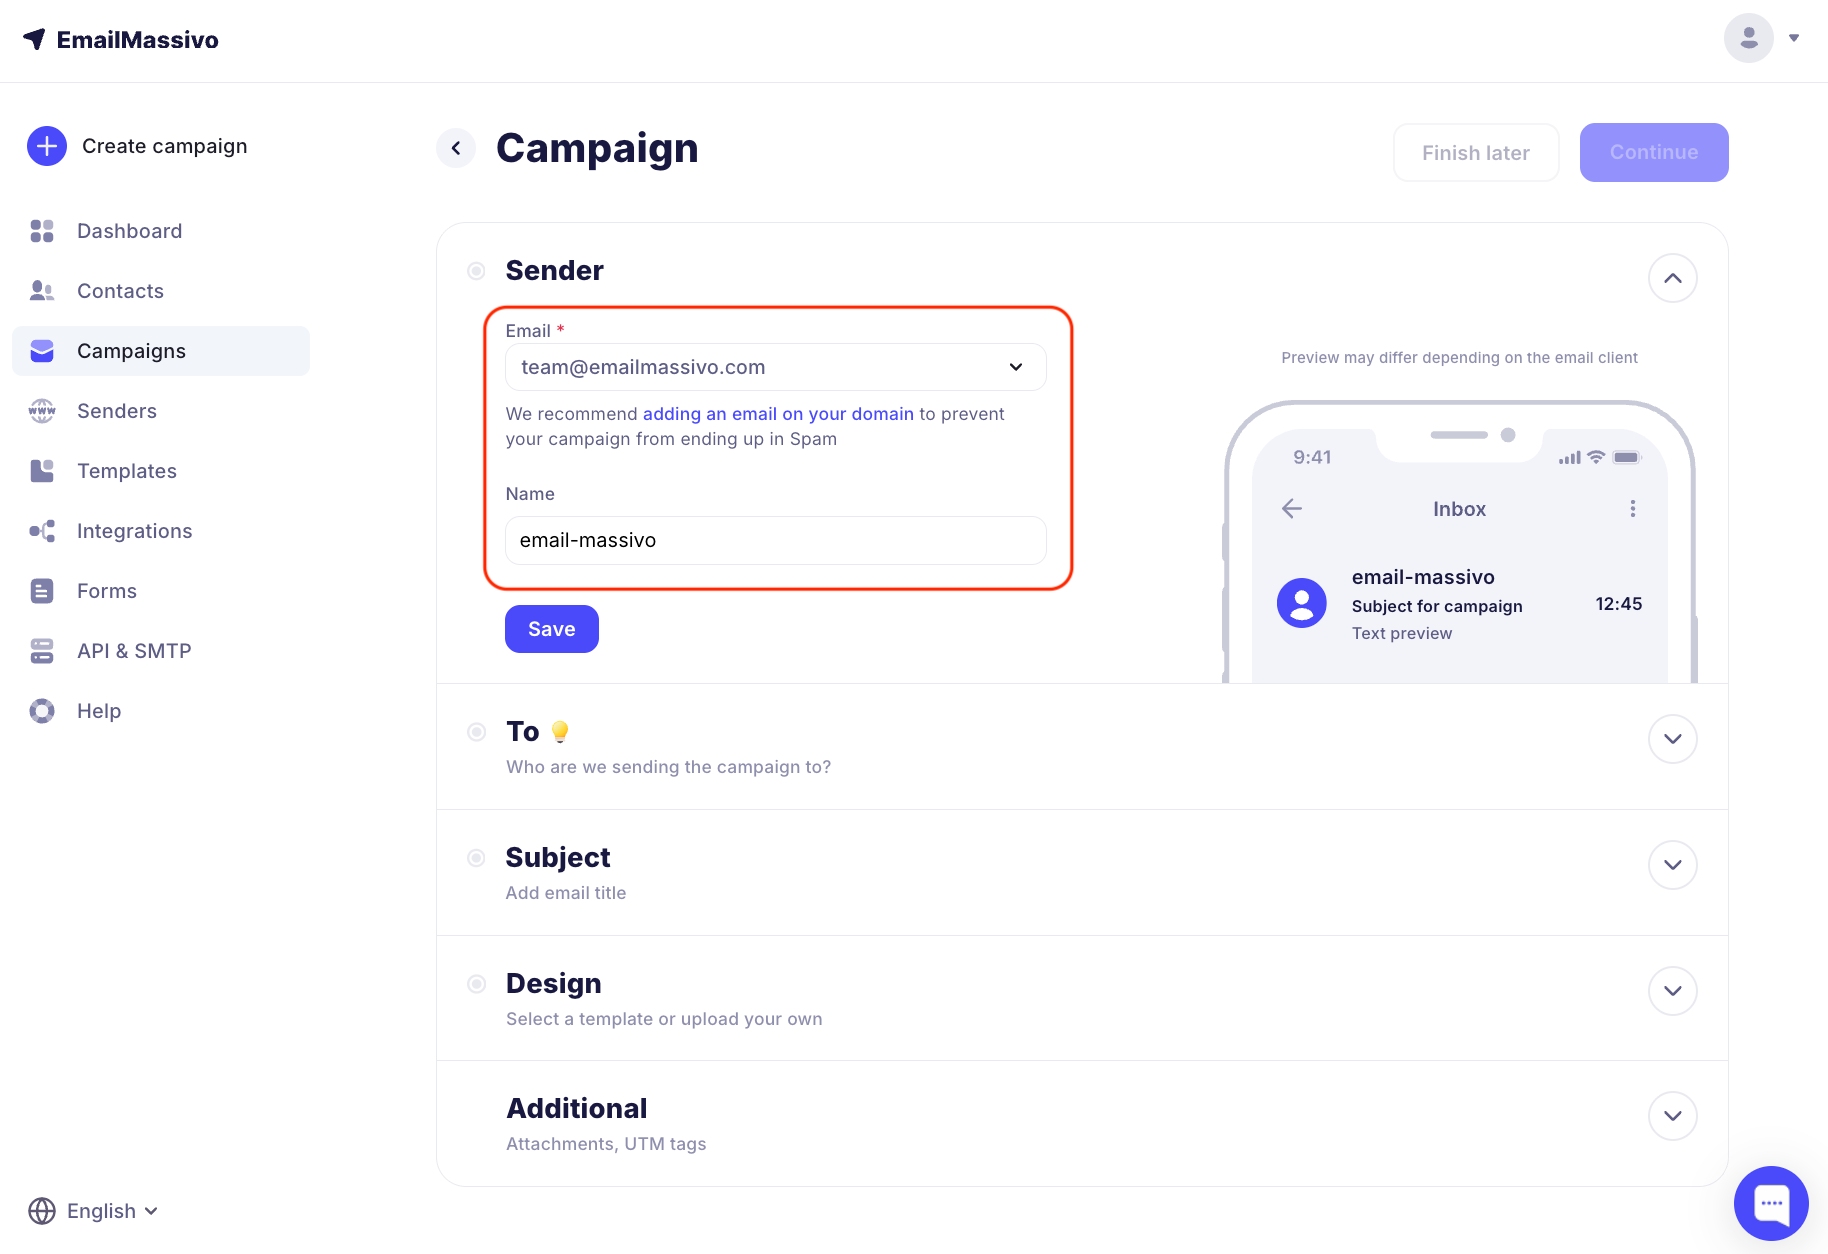
After that, click "Save".
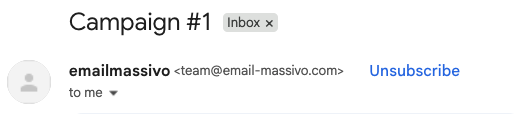
Users will receive a campaign where it will be indicated from which email they received the message, as well as the name (from whom they received the message).
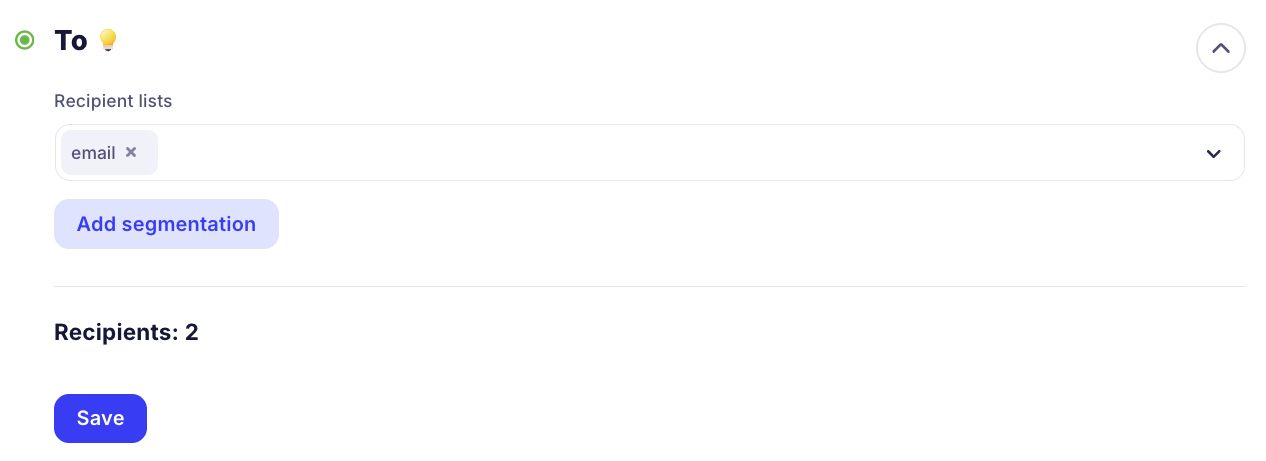
¶ Specify Recipients
Select one or more recipient lists for the campaign. Recipient lists count recipients with status "New" and "Active". If the list has recipients with other statuses ("Error", "Unsubscribed", "Mailbox Full"), such contacts will not be counted in the recipient count and the campaign will not be sent to them.
After selecting lists to whom you want to send the campaign, you will see the total number of recipients in these lists. Then click "Save".
¶ Specify Email Subject and Preheader
Email subject is the part of the message that subscribers see when they enter the "Inbox" folder. By the email subject, subscribers judge whether it's worth opening or not, so it should be catchy, informative, and brief.
Preheader (preview text) or subtitle is a text fragment that is displayed in the mailbox immediately after the sender name and email subject.
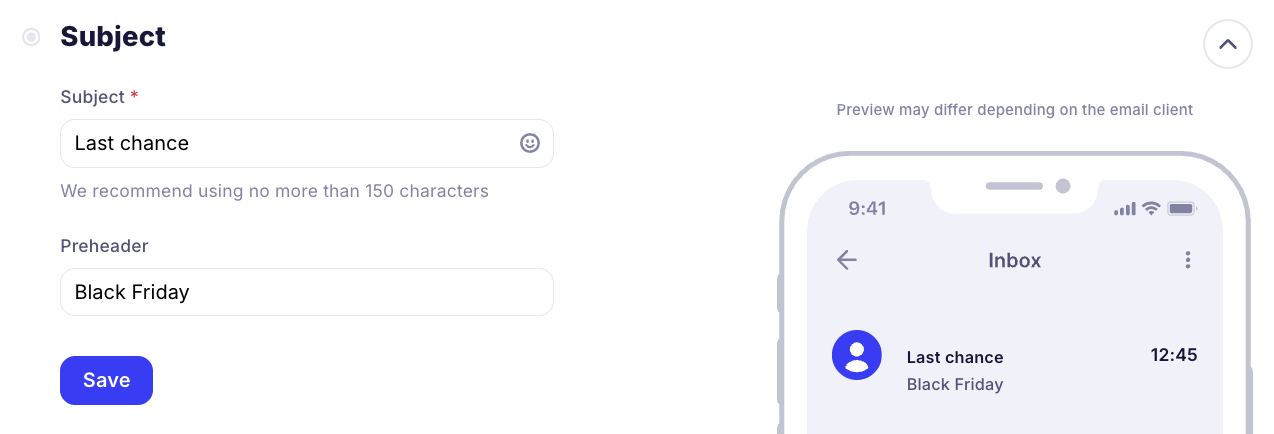
The purpose of the preheader is to draw the reader's attention to key aspects of the email.

¶ Step 2. Add Email Content
¶ Select Template
EmailMassivo provides several template selection options for campaigns. You can:
- select a template you created earlier;
- create a new template in the block template builder;
- create a new template in the HTML editor.
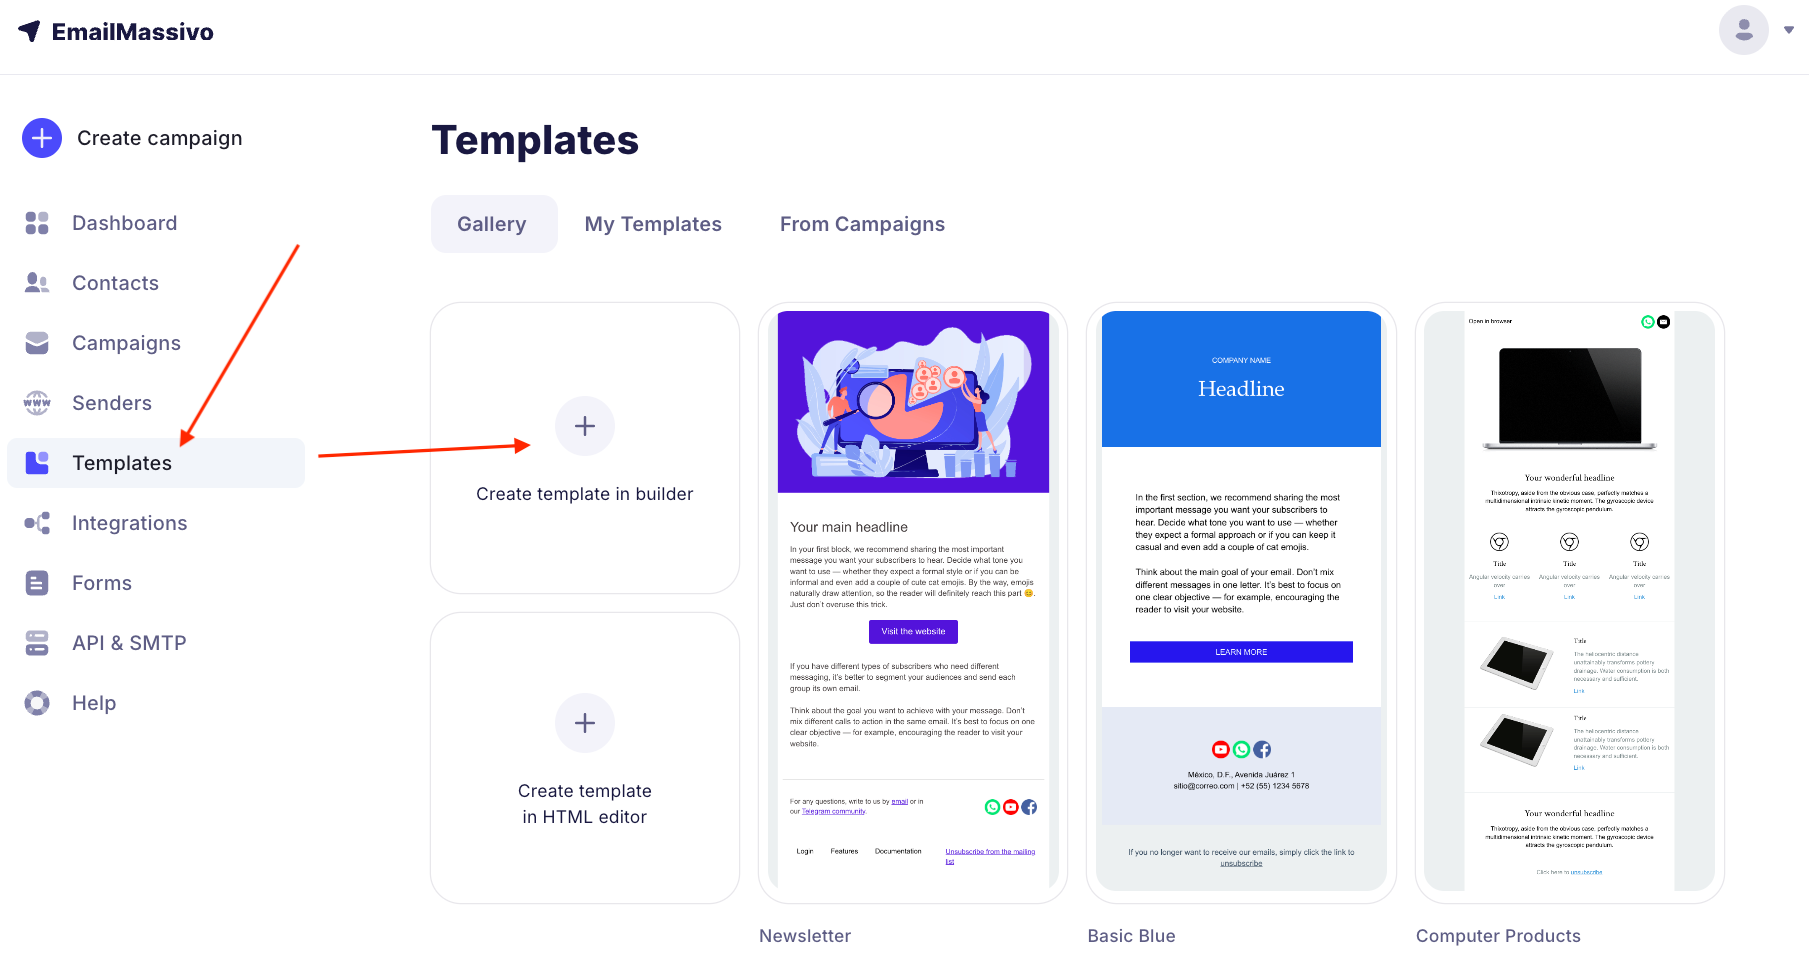
Select a template and proceed to editing it.
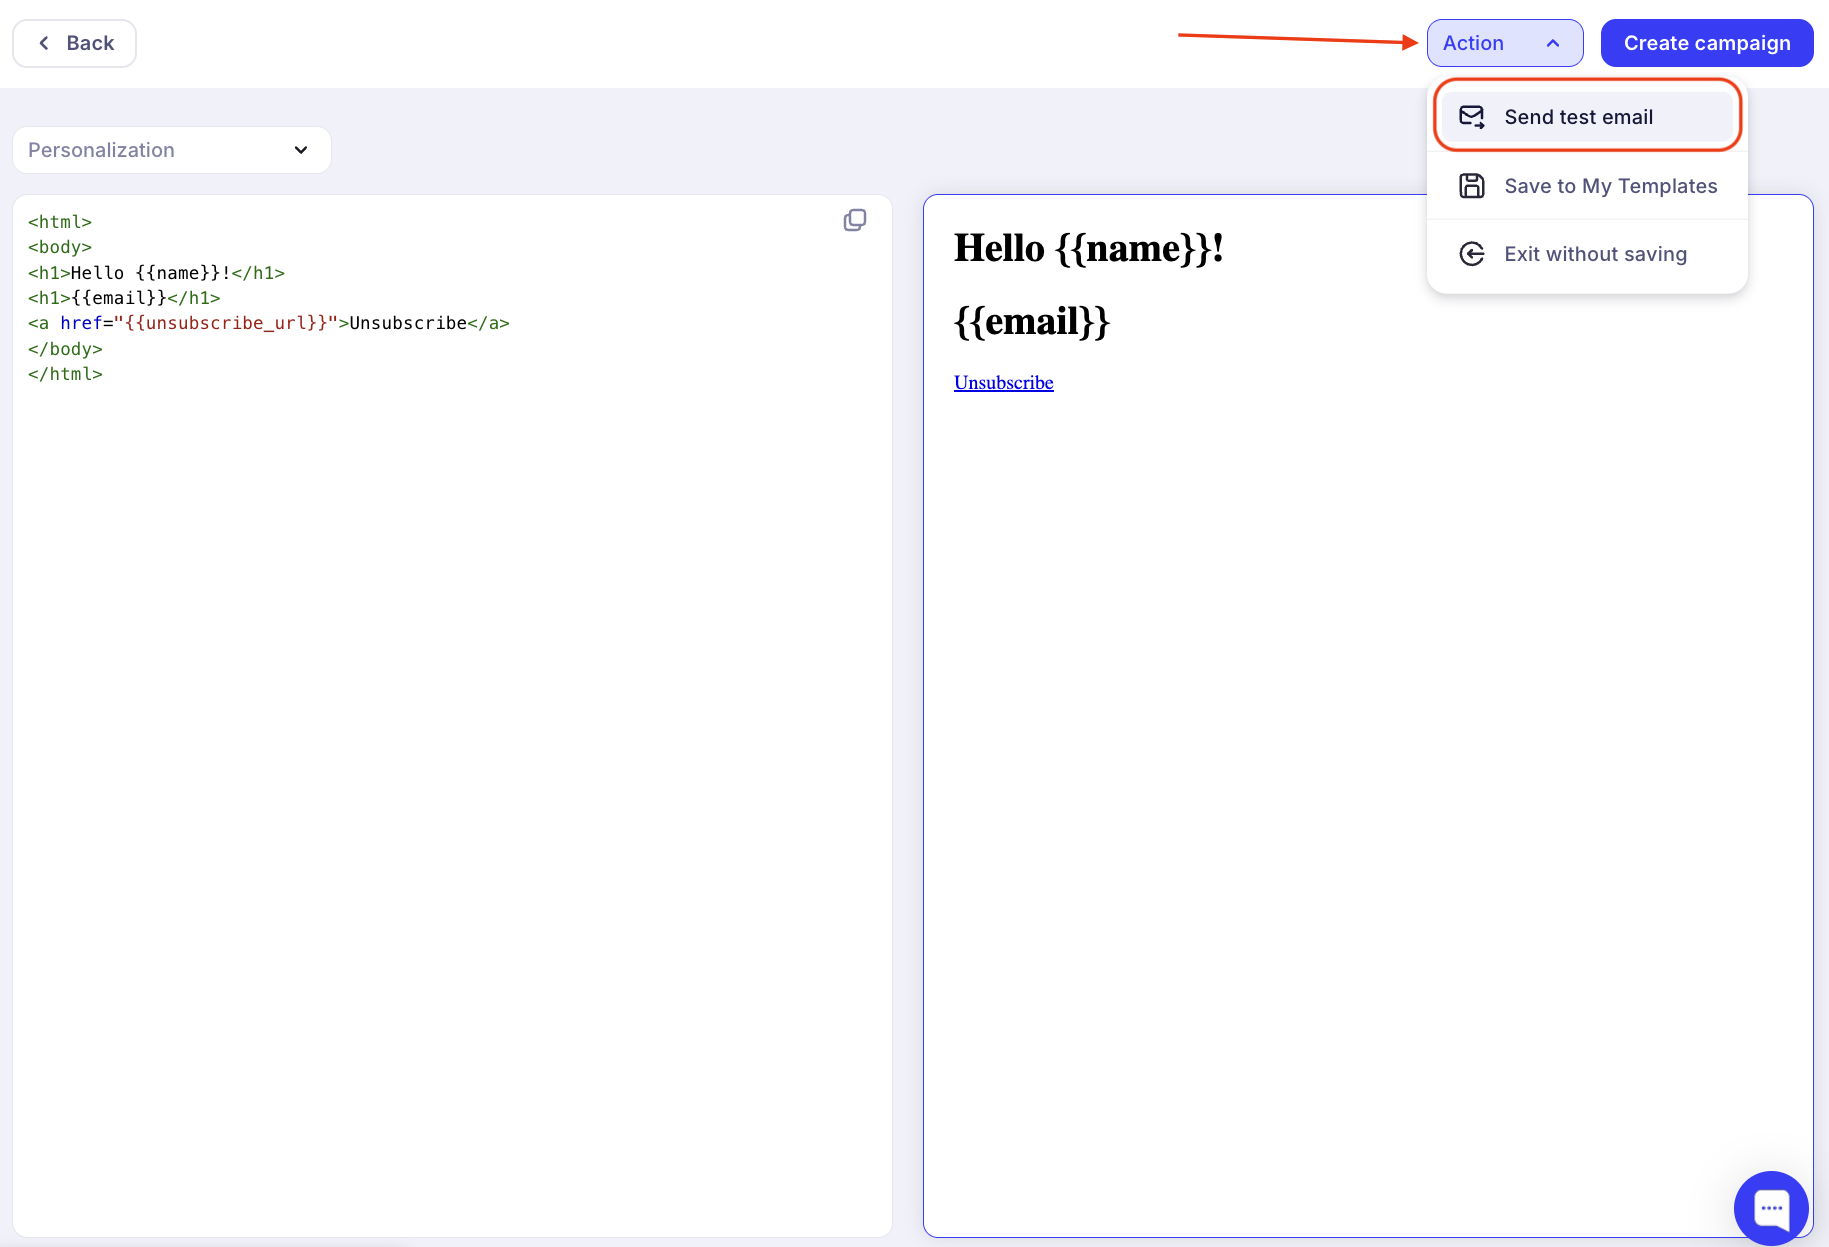
The message, like the email subject, can be personalized by adding customer personal data.
If you select a template from the gallery or create a new one, you can insert variables (tags) like this:
- Click on the text where you want to insert a variable
- In the bar, open the dropdown menu "Merge Tags"
- Select any additional field. Depending on the recipient, this value will be substituted from the contact value.

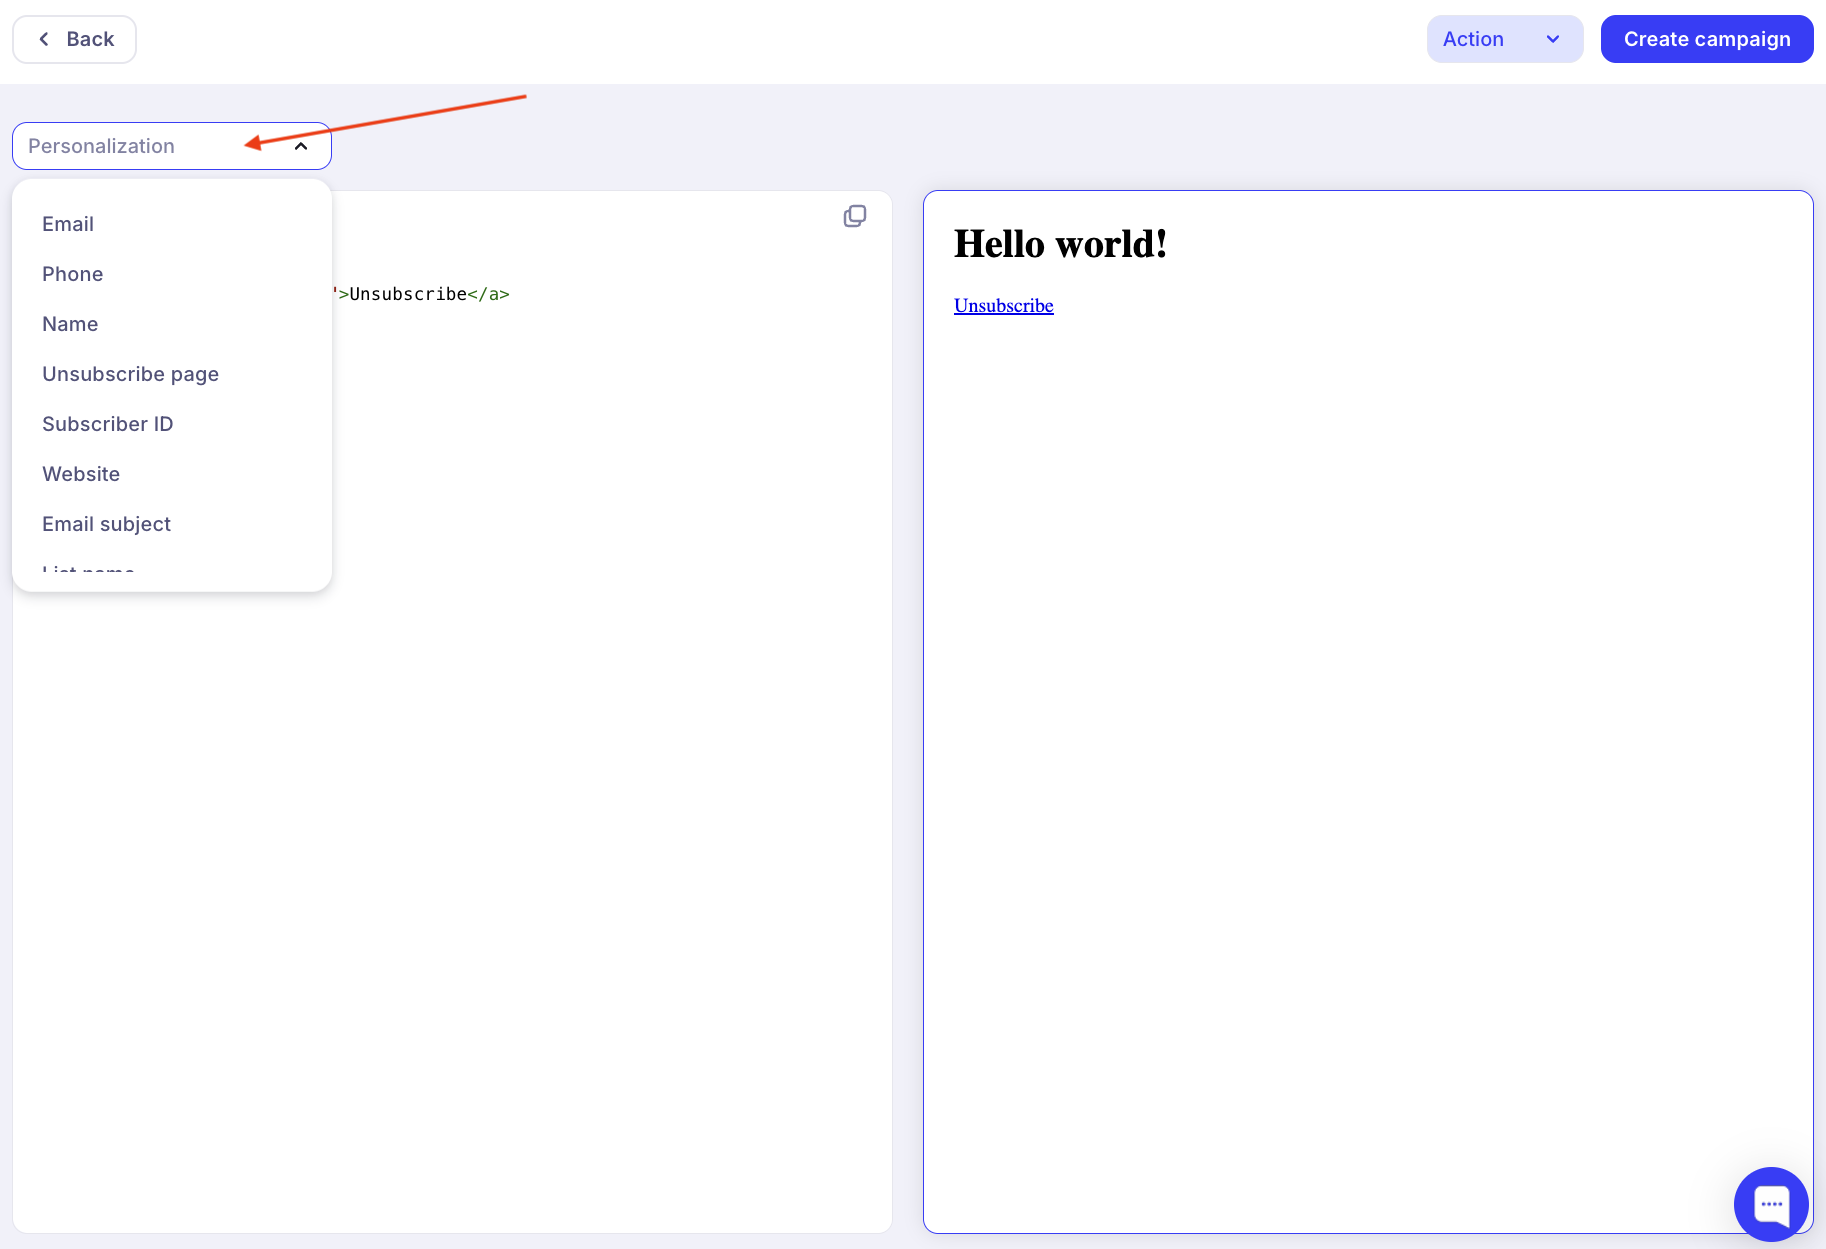
If you create an HTML template, you can add tags through personalization:
Through sending a test email, you can send an email to yourself and see how it displays in the mailbox.
¶ Add Attachments
When creating a campaign, you can attach one or more files to it.

Click "Add File" and upload a file. Note that you can only select one file at a time.
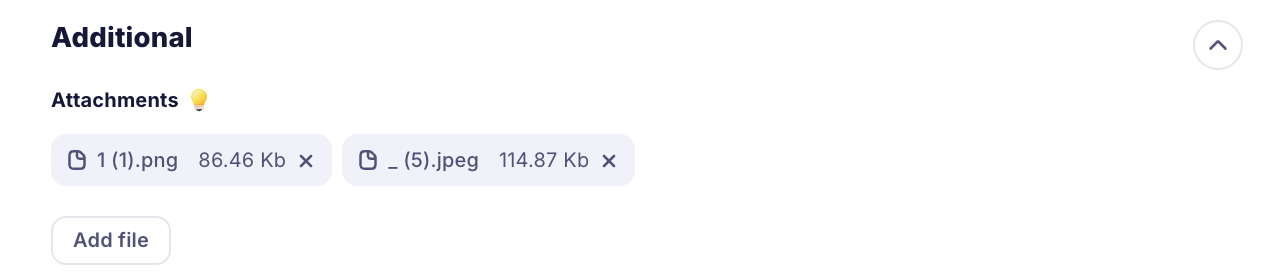
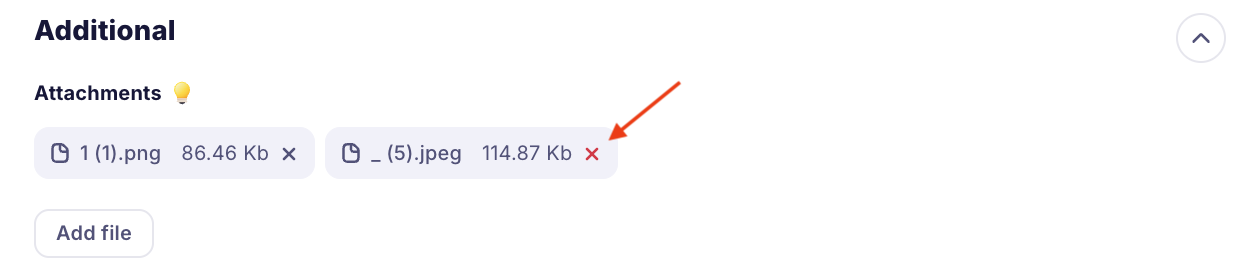
You can delete a file by clicking the cross:
¶ Limitations on Attached Files and Size
- Total attachment size limitation in email: 5 MB
- Attachment quantity limitation in email: 20 items
- Forbidden attachment formats: ADE, ADP, APK, APPX, APPXBUNDLE, BAT, CAB, CHM, CMD, COM, CPL, DIAGCAB, DIAGCFG, DIAGPACK, DLL, DMG, EX, EX_, EXE, HTA, IMG, INS, ISO, ISP, JAR, JNLP, JS, JSE, LIB, LNK, MDE, MSC, MSI, MSIX, MSIXBUNDLE, MSP, MST, NSH, PIF, PS1, SCR, SCT, SHB, SYS, VB, VBE, VBS, VHD, VXD, WSC, WSF, WSH, XLL.
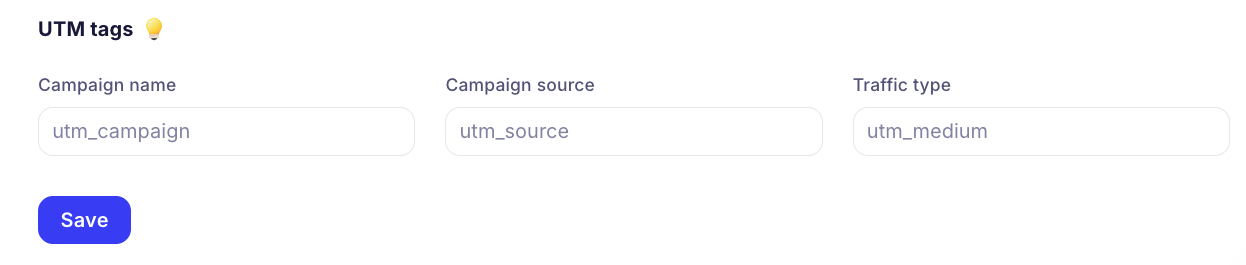
¶ Add UTM Tags
UTM tags are parameters that are added to URLs to get detailed traffic information. They are easy to see in the browser address bar after clicking. For example, using UTM you can learn that a person came to a page from an email campaign, viewed three more pages, and then bought a product.
Example UTM tag settings:
- Campaign name: promo
- Source: google_campaign
- Traffic type: email
If you specify such settings, all links in the email will have parameters added:
?utm_source=google_campaign&utm_medium=email&utm_campaign=promo
Using these tags, you can track clicks in statistics and on the website in analytics systems.
You can also specify UTM when creating a template. Manually add different UTM tags to each link.
¶ Important Recommendations
Email size significantly affects its delivery. Spam filters of email services block unwanted messages by analyzing them according to various parameters. To ensure your email reaches the recipient without delays and doesn't end up in spam, it's recommended to limit its size to 10–15 MB.
Additionally, it's important to properly format images in campaigns. Inappropriate format or large size can slow down loading: users may see an empty block or broken image, which will cause a negative reaction.
It's recommended to use images sized up to 500 KB, apply compressed formats, and minimize the number of graphic elements. This will ensure fast loading and preserve illustration quality. Standard raster formats such as JPG and PNG are preferred. GIF formats should be used with caution, as not all email services display them correctly.
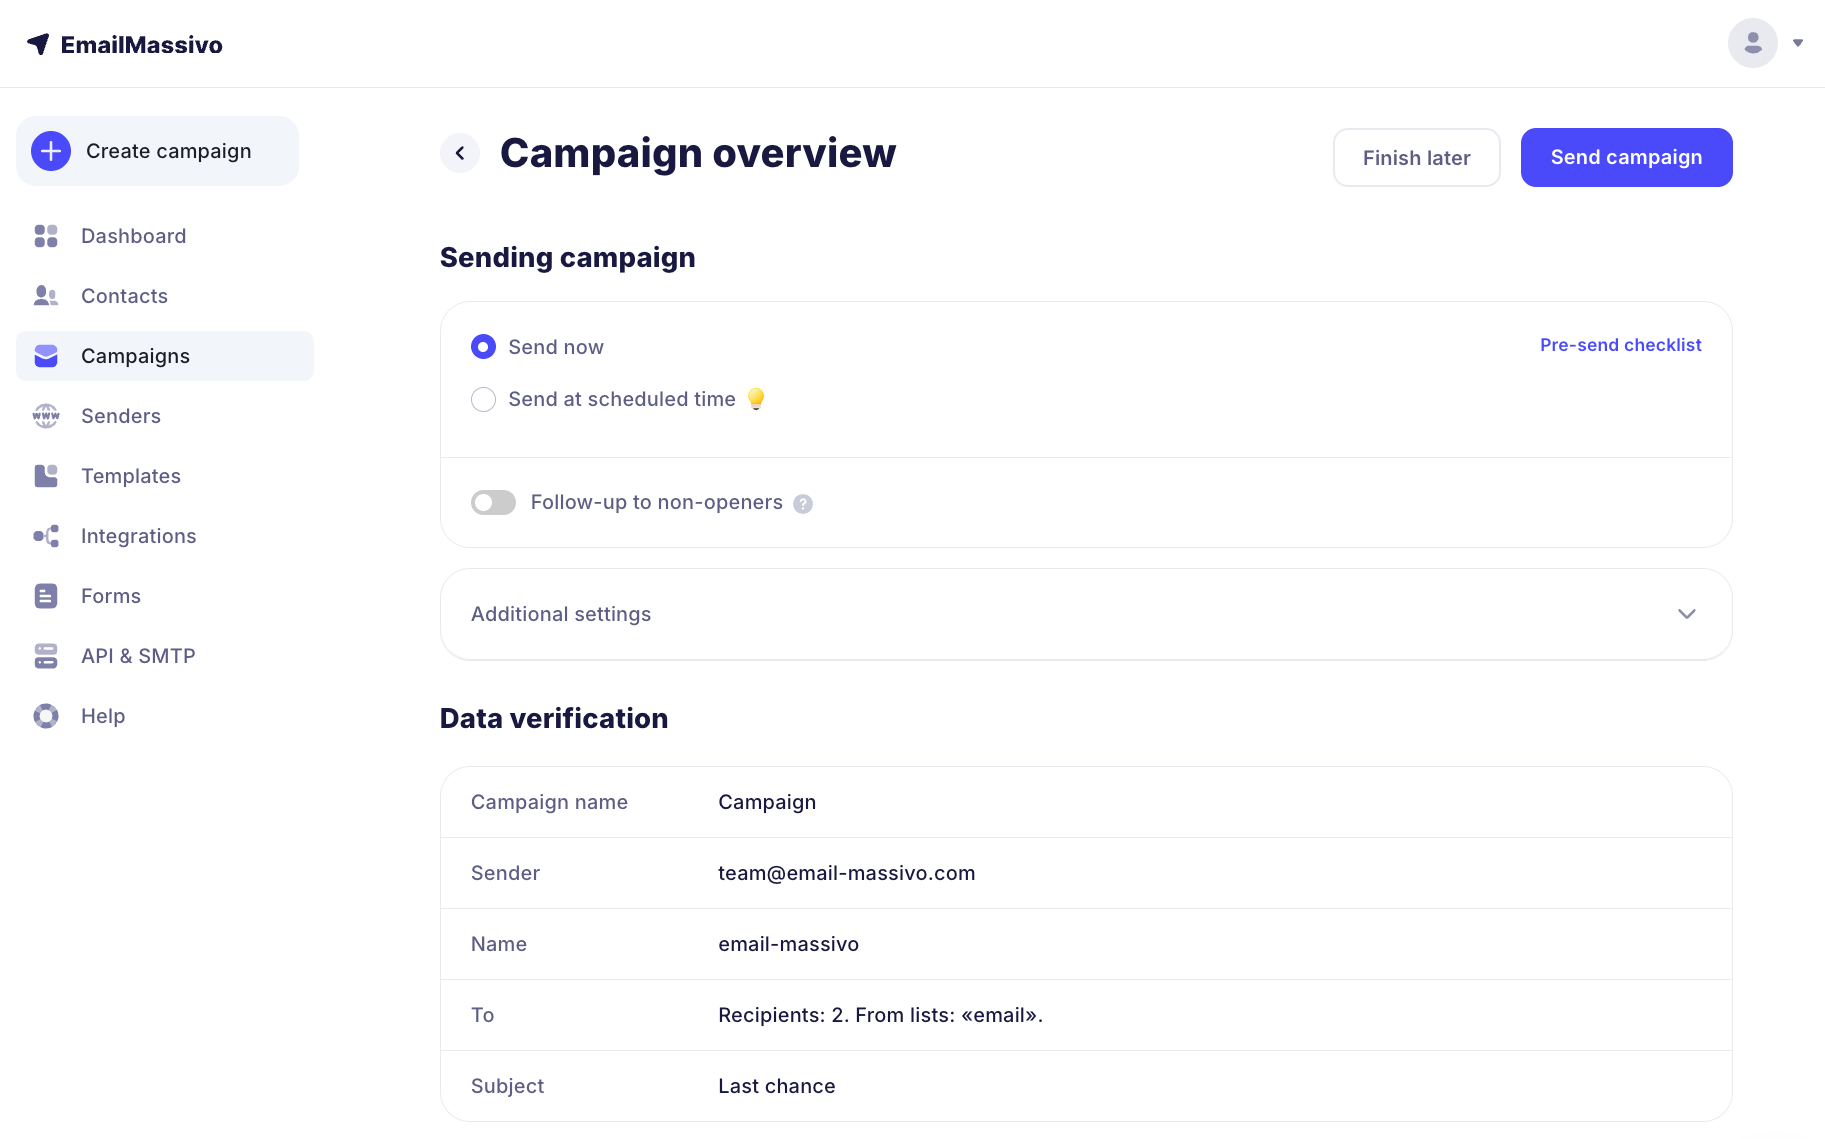
¶ Step 3. Check All Data
Click "Next" and check all data.
Already at the stage of creating the main campaign, you can plan in advance a resend of emails to those who did not open the first email. This will help increase your campaign's effectiveness.
¶ Step 4. Send the Campaign
¶ After Sending, the Campaign Will Go for Moderation
Conditions for going to moderation:
- If you uploaded your first contact database and are sending a campaign from it in our service for the first time, the campaign will be sent for moderation. Our support team will check the database, and after verification, the campaign will be sent immediately or rejected. In case of campaign rejection, we will contact you to clarify details and reasons for rejection.
- If the recipient database is permanent and has been checked previously in our service — the campaign will go to sending automatically without moderation.